
|
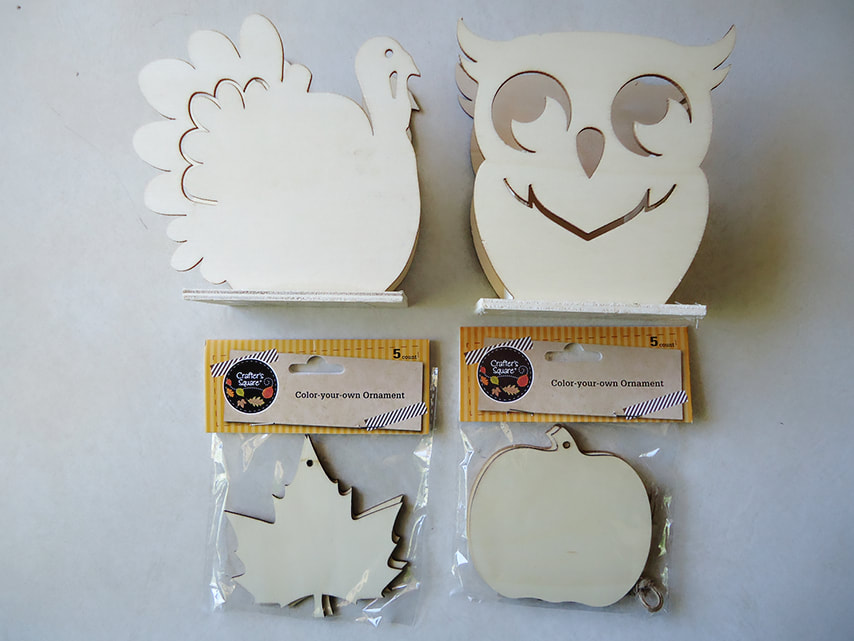
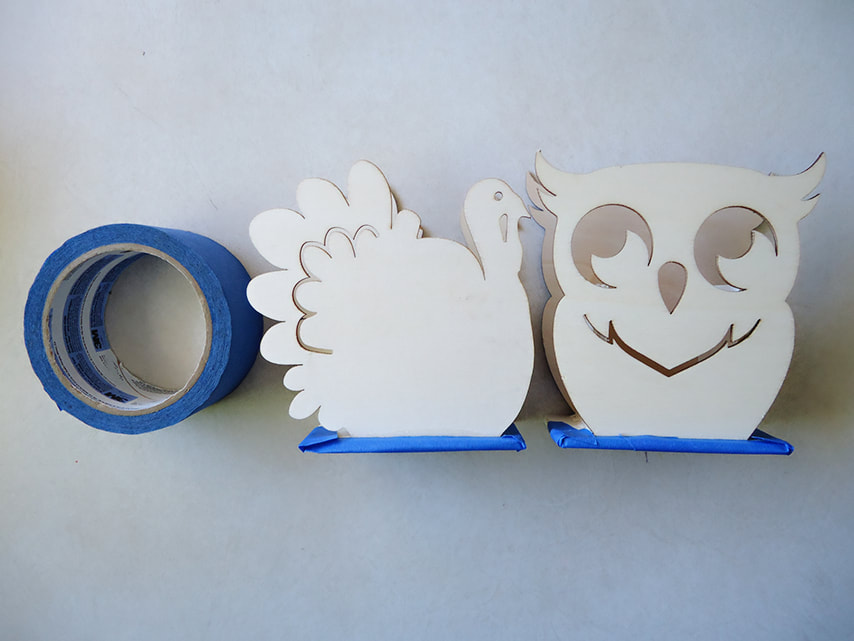
10/8/2019 1 Comment DIY: DOLLAR STORE FALL DECORI went to my local Dollar Tree and found so many cute fall decor pieces. I bought a couple of wood pieces and ornaments that I wanted to DIY myself. If you are not a hands-on type of person and don't like to craft that much, this DIY is perfect for you. 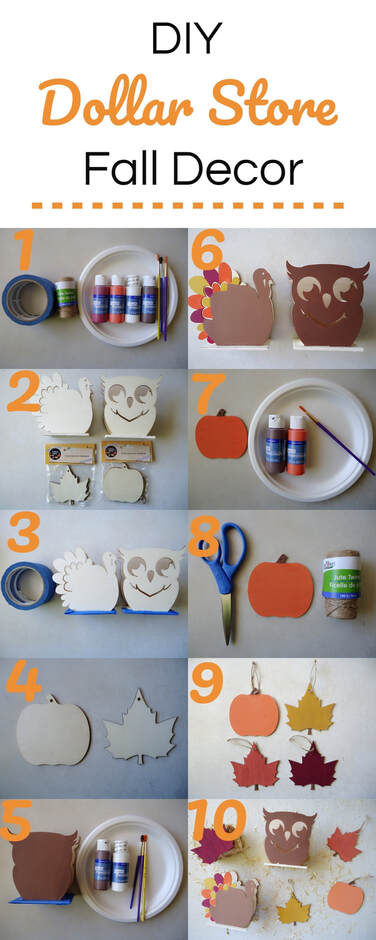
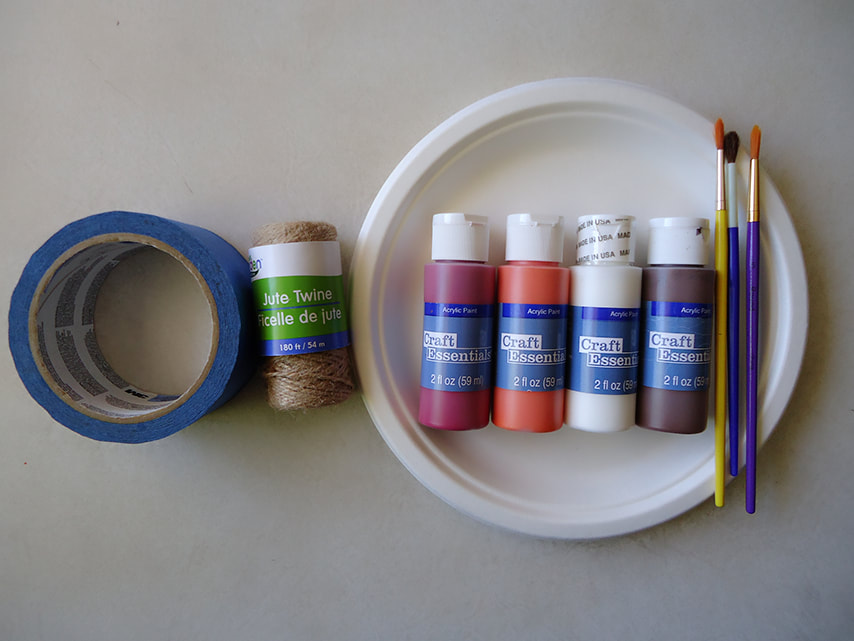
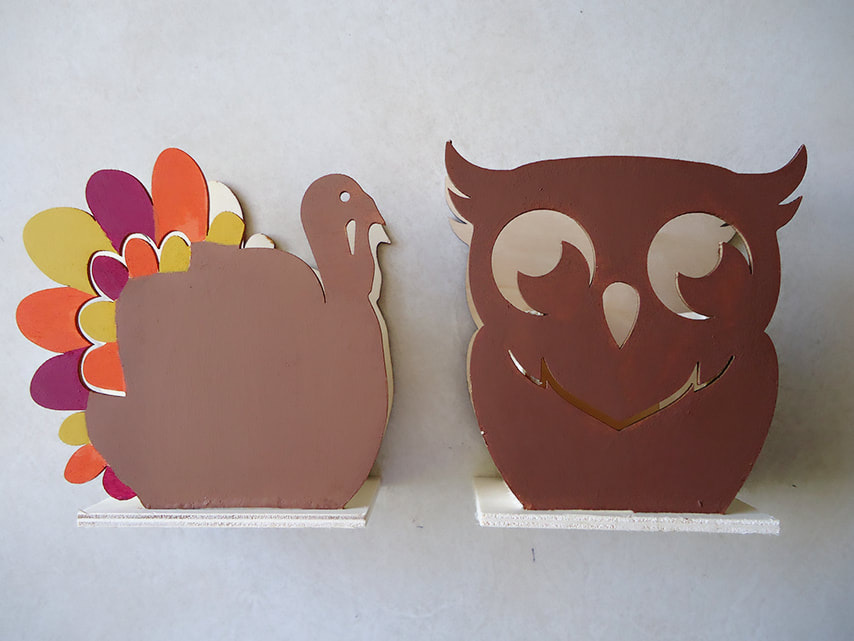
1. I know not all Dollar Tree stores have the exact items in stock but, I got the Crafters Square Fall ornaments. They had some fall wood centerpieces that I just had to get. It all depends on what's available at your local Dollar Tree or Family Dollar. 2. For the centerpieces, I covered the bottom rim with blue tape or anywhere I didn't want the paint to bleed. I love doing this because there is no worry if you mess up or if your paint is super runny.
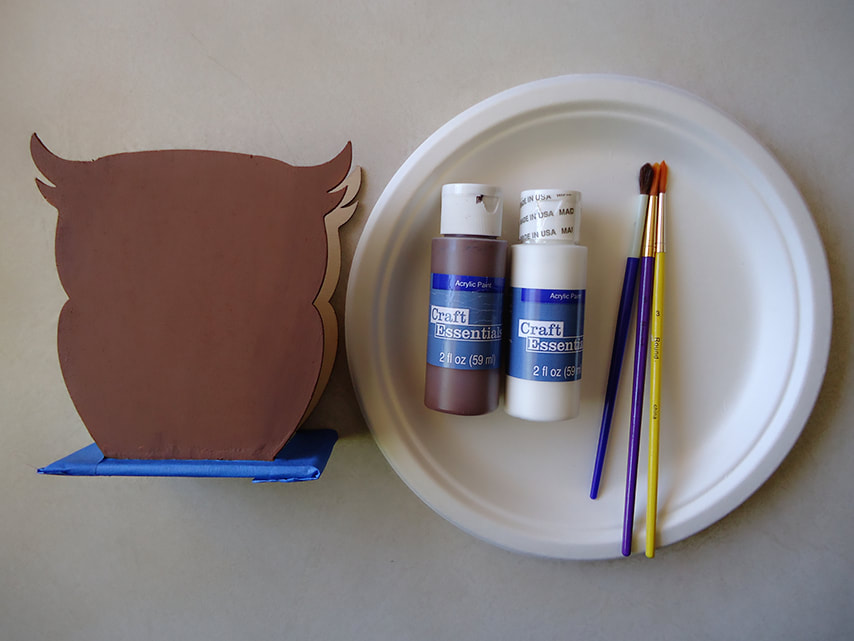
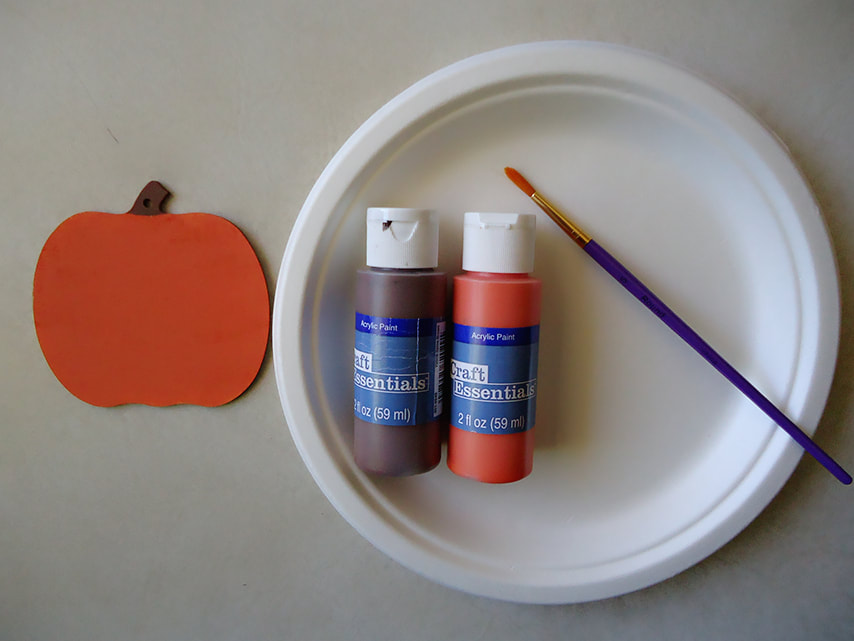
3. Now it’s time to paint, I used the Craft Essentials acrylic paint that is super affordable. You can find this paint at Joan's for only a couple of cents. If you can't find the Craft Essentials paint, you can always look through the crafting section at your local Dollar Tree. My Dollar Tree has a good assortment of different types of paints and brushes.
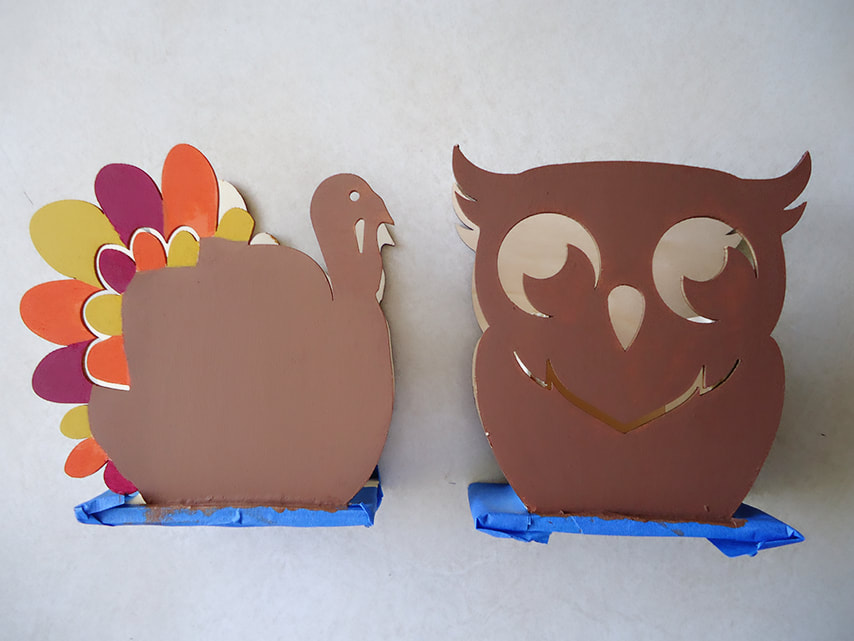
4. When you are finished painting all your wood figures, know it’s time to let them dry overnight. After they have dried, you can take off any of the tape to reveal your masterpiece.
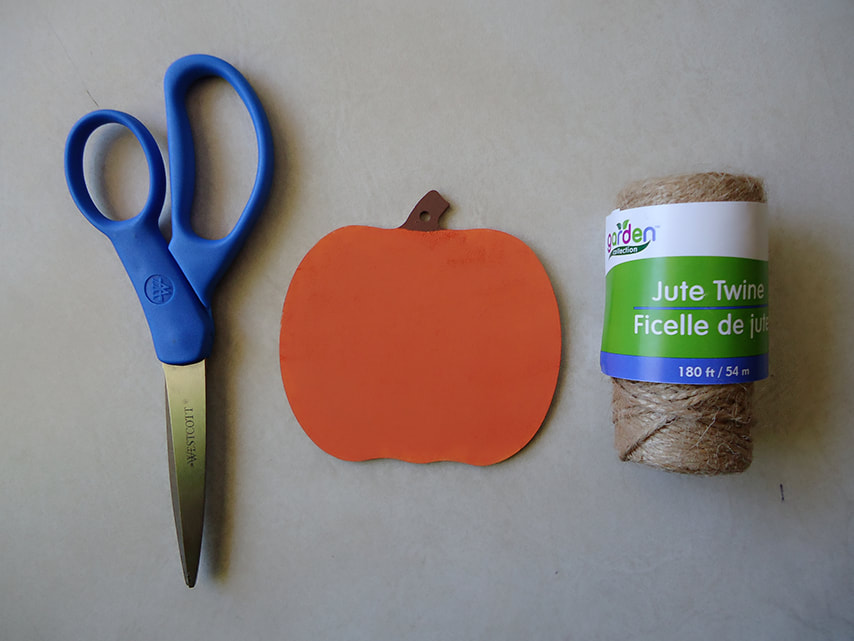
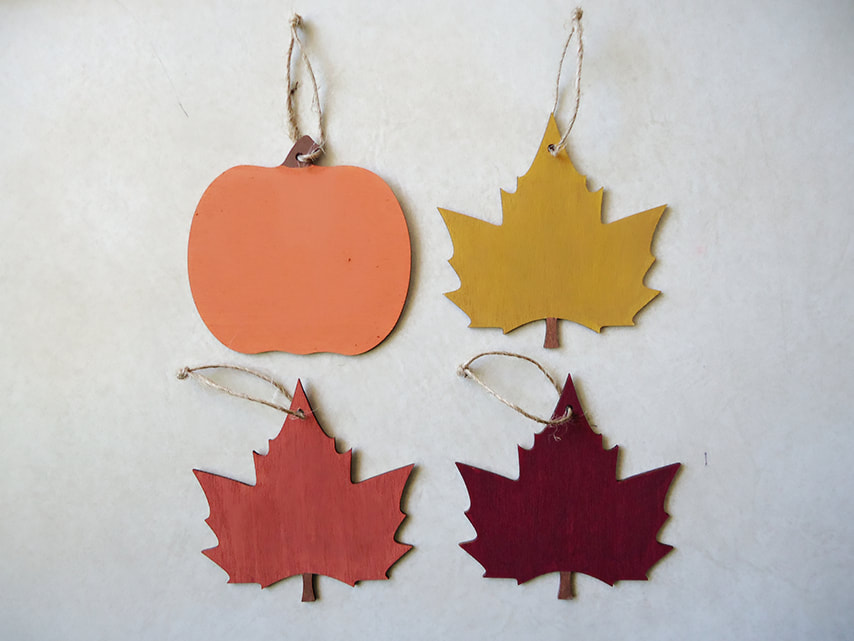
5. After your ornaments have dried, take a piece of jute twine, string it through, and make a knot to complete. I loved how these ornaments turned out for less than two dollars. If you are a teacher looking for affordable fall classroom activities, this is it. Each student can paint their ornament and write their name on it. You can easily hang them up around your classroom, a wall, or even a small fake tree.
It goes to show that you don't need to spend a lot of money to get cute fall decor. All I did was paint wood figures but, that changes the whole look of it and makes it your own. It's not the same cheap wood figure that everybody can get at the dollar store. 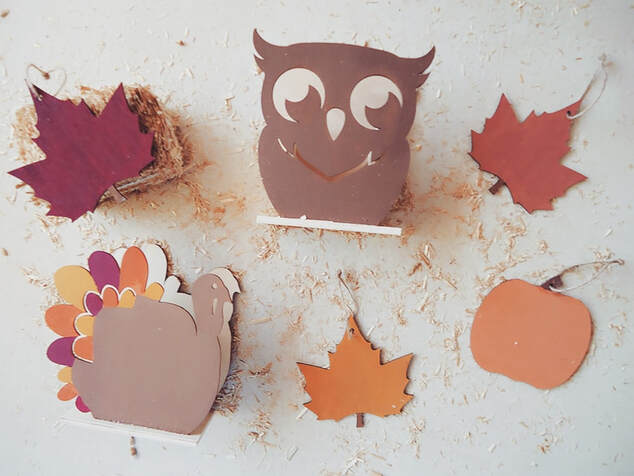
1 Comment
|
 RSS Feed
