
|
6/26/2019 0 Comments DIY: FOURTH OF JULY BANNER
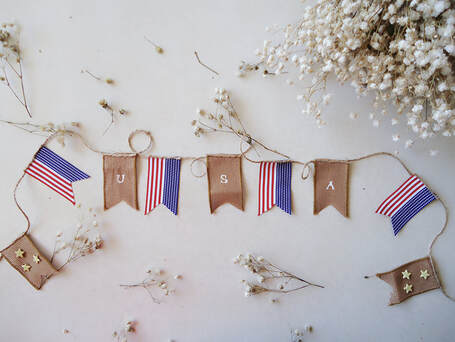
Since the Fourth of July is just around the corner, I decided to DIY this cute patriotic banner. I didn't know if I was going to do another patriotic craft because I barely made one for Memorial Day. I made a popsicle stick American flag for Memorial Day but, you can make them for the Fourth of July too. You can easily find that blog post down below, keep scrolling down. These crafts are so easy to make and affordable.
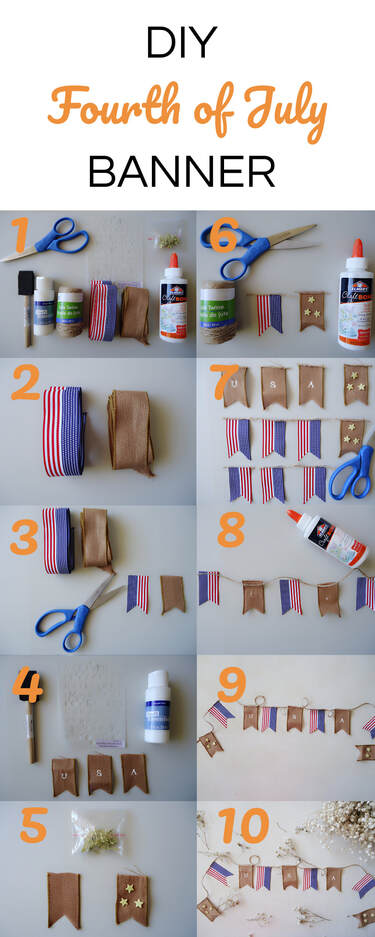
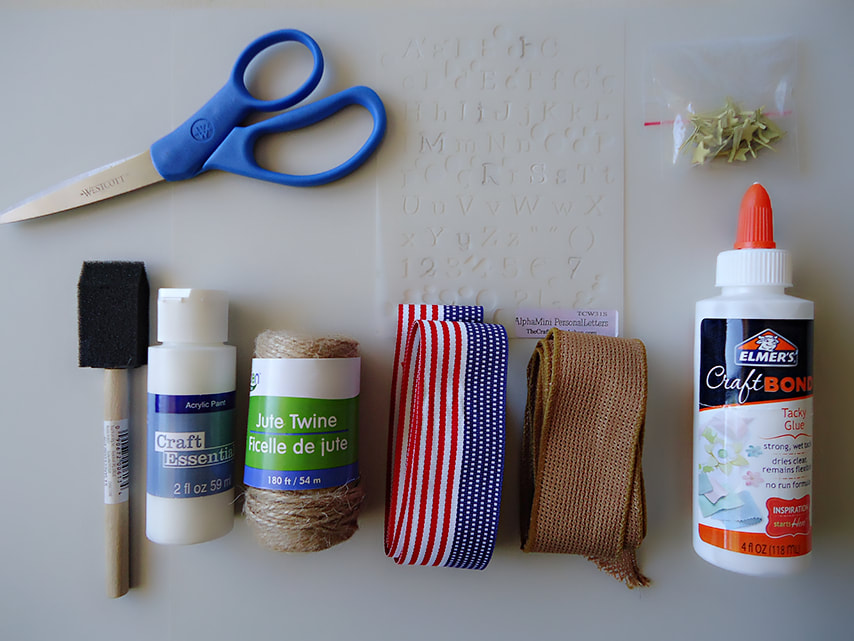
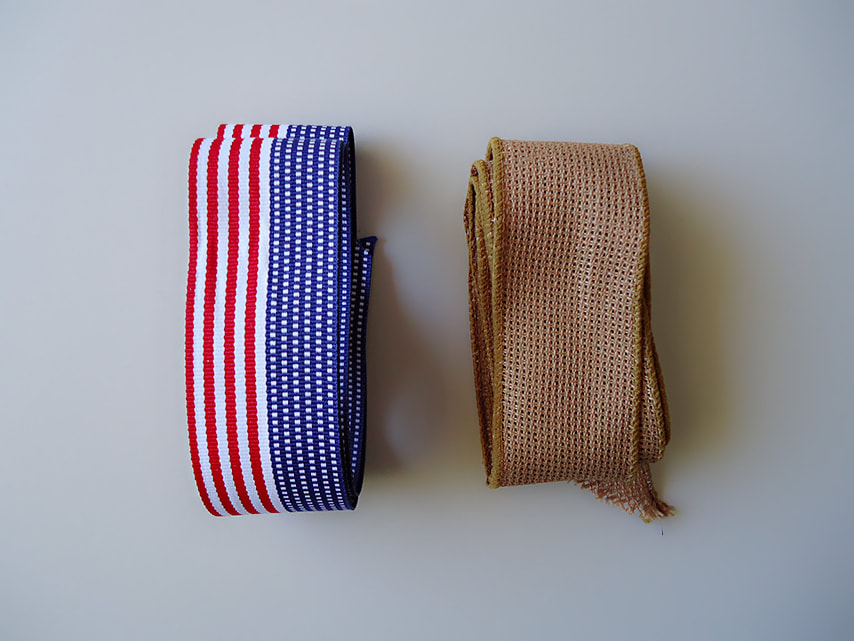
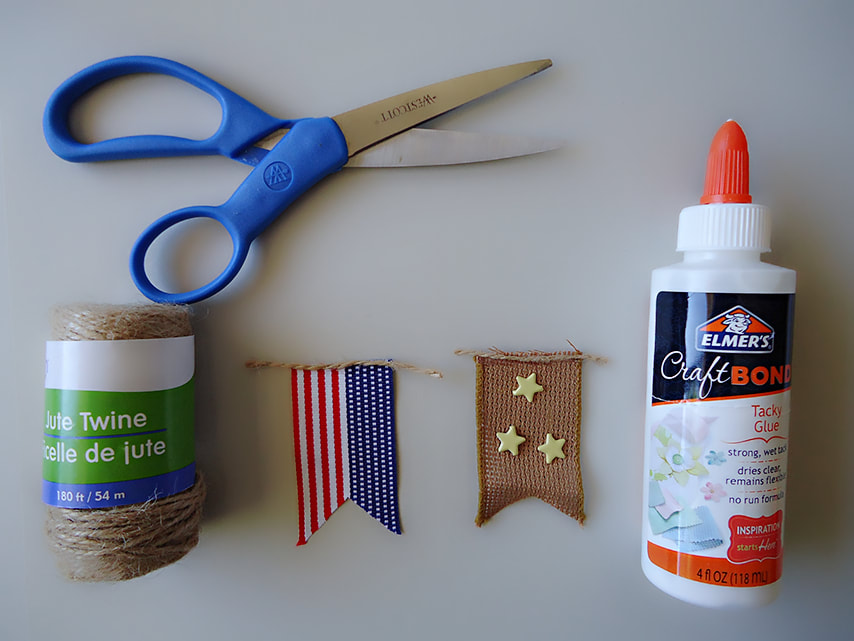
1. First, choose two ribbons that are about the same size. You can choose any color or design you want.
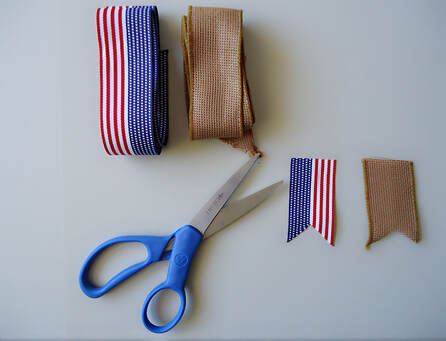
2. Take your scissors and cut rectangle shaped pieces. Cut a triangle at the bottom to make the shape. Each piece I cut was (2.5 in x 1.3 in) or (6.5 cm x 3.5 cm). I decided to make a small banner but, you can make it any size you want. If you have trouble making the shape, you can look up a banner template to help you. Cut 6 to 10 pieces of each type of ribbon in case you mess up.
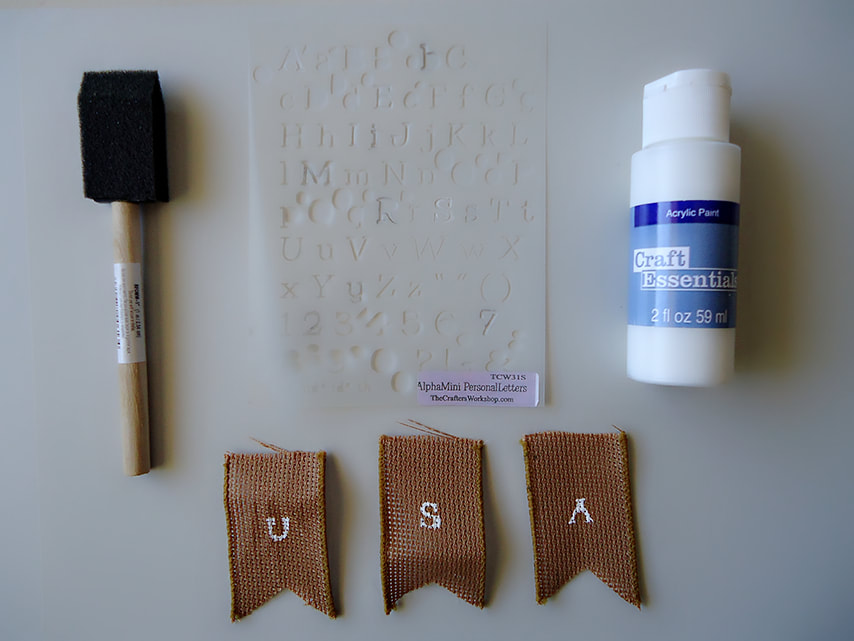
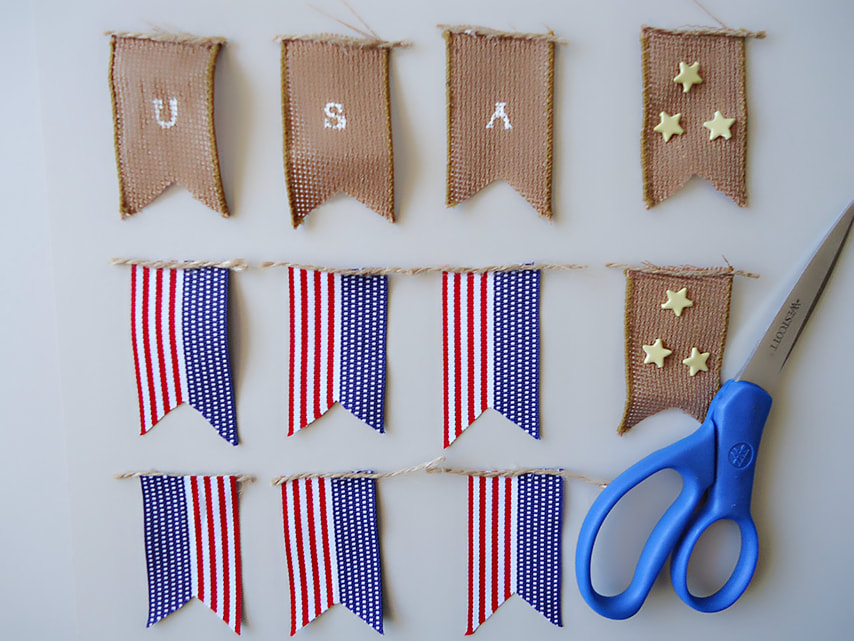
3. Take 3 of the burlap pieces you just cut, white paint, paint brush, and stencils. I used my stencil to paint one letter on each burlap piece to spell out USA. I messed up a couple of times with the stencil, that's why I cut extra burlap pieces.
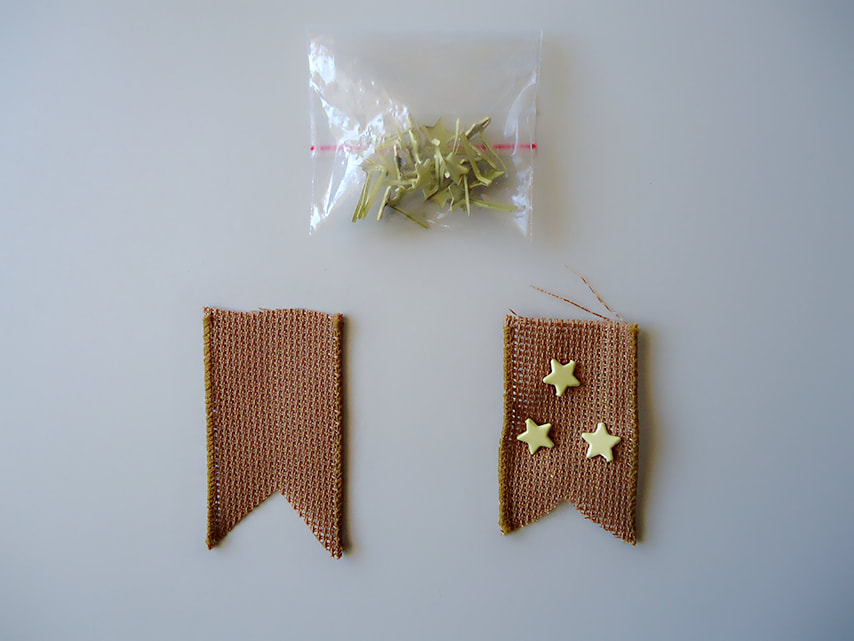
4. Take 2 of the burlap pieces and star pins to decorate. You can paint them on or use a stencil if you don't have these pins.
5. Now take your jute cord and cut small pieces. Now glue the jute cord at the top of all the burlap/ribbon pieces you cut earlier.
6. Cut the excess jute cord from the sides of each piece.
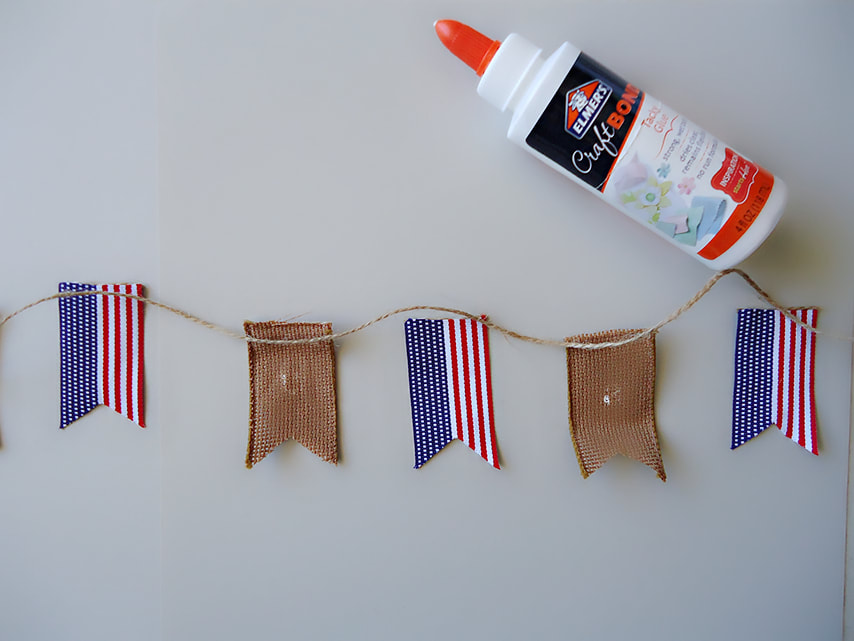
7. Now string all your pieces together with jute cord. Flip all your ribbon pieces over and glue them to your jute cord.
8. Let your banner dry for an hour or overnight.
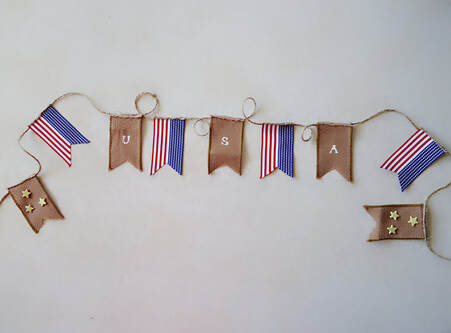
9. Now you are done and ready to hang your banner. Choose a spot, hang it up, and you're done.
Product Websites:
https://www.dollartree.com/floral-garden-burlap-ribbon-9ft-spools/207239
https://www.dollartree.com/search/go?w=jute+twine
https://www.joann.com/craft-ed-8oz-white/7984628.html#q=WHITE%2BACRYLIC%2BPAINT%2B&start=1
https://www.dollartree.com/tool-bench-assorted-foam-paint-brushes-8ct-packs/252561
https://www.dollartree.com/jot-self-adhesive-stencils-95x575-in/237411
0 Comments
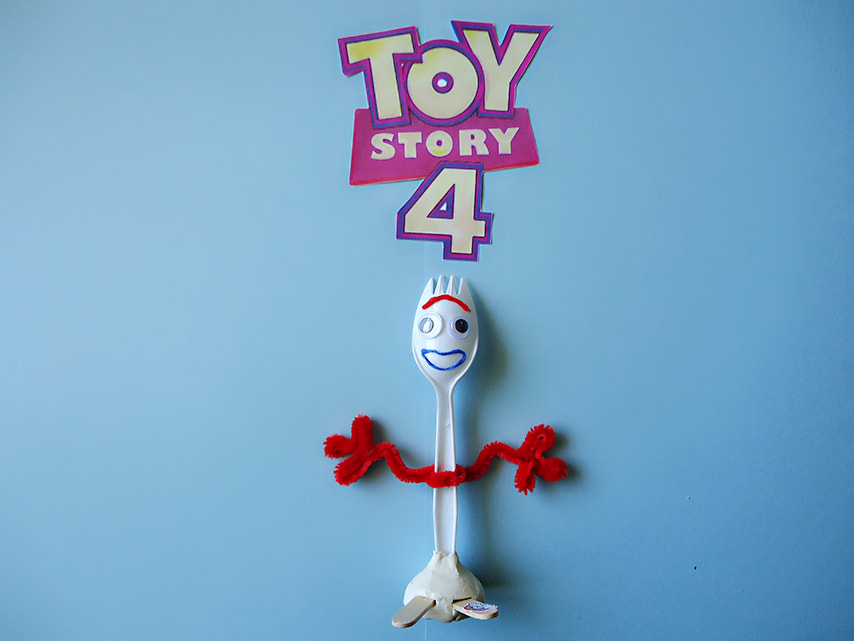
6/15/2019 0 Comments DIY: tOy story 4 Forky
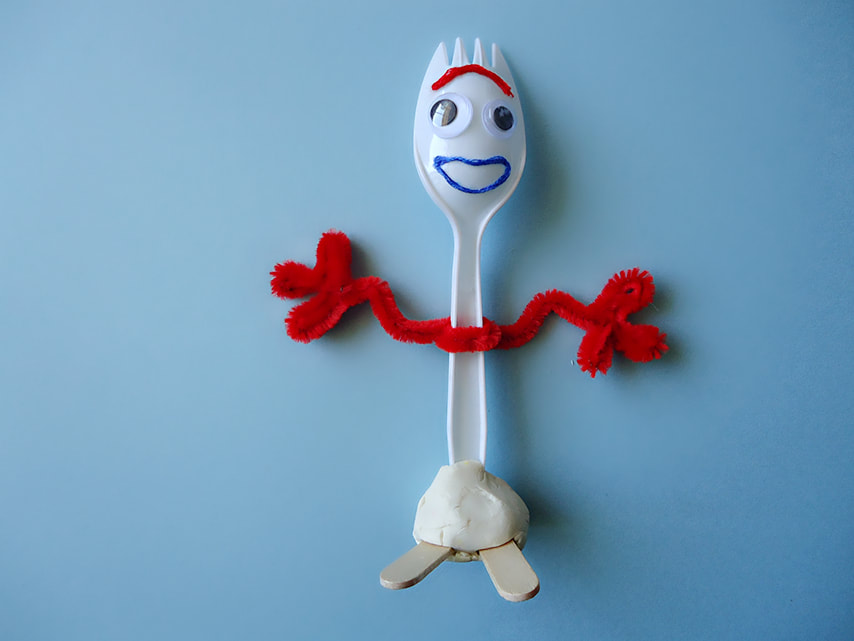
The movie Toy Story 4 hits theaters June 21 and is expected to break records. I have noticed the increase in popularity of Toy Story products everywhere. I feel that every child is going to want a forky after they see the movie. Forky is so easy to make even if you don't have all the materials you can improvise with what you have.

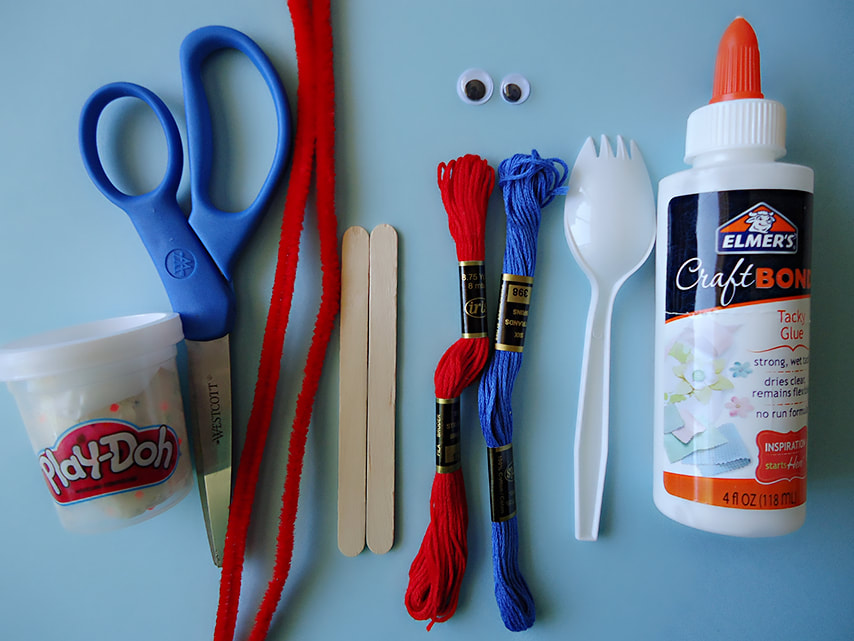
Forky is a fun summer craft you can do with your child. It's the perfect activity you can do before or after you watch the movie. I will list all the materials I used and where I got them. I will also have the movie trailer down below if you haven't seen it.
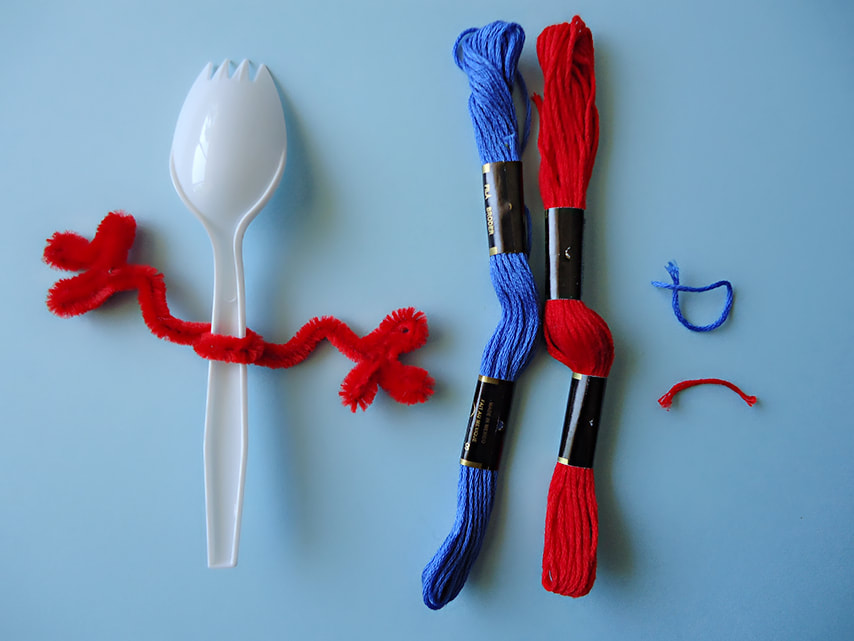
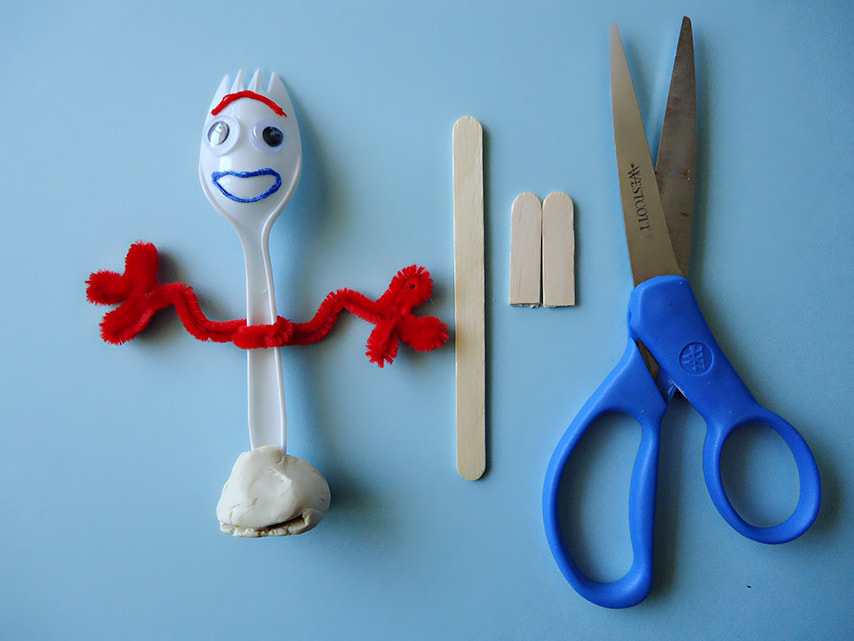
1. First, take your spork and your two red pipe cleaners. You can use one pipe cleaner like me or two.
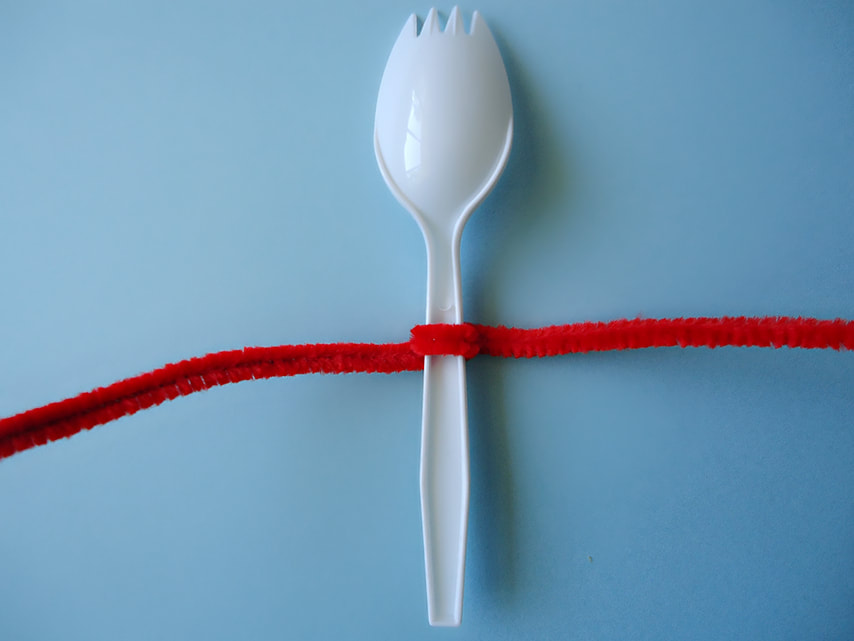
2. Grab your spork and wrap the red pipe cleaner around it.
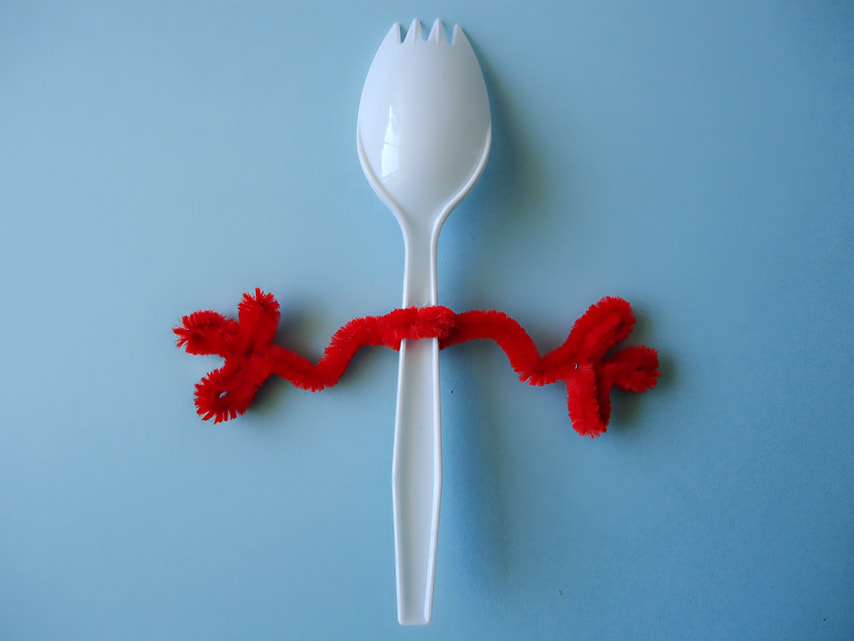
3. Leave a reasonable amount of pipe cleaner to make the hands.
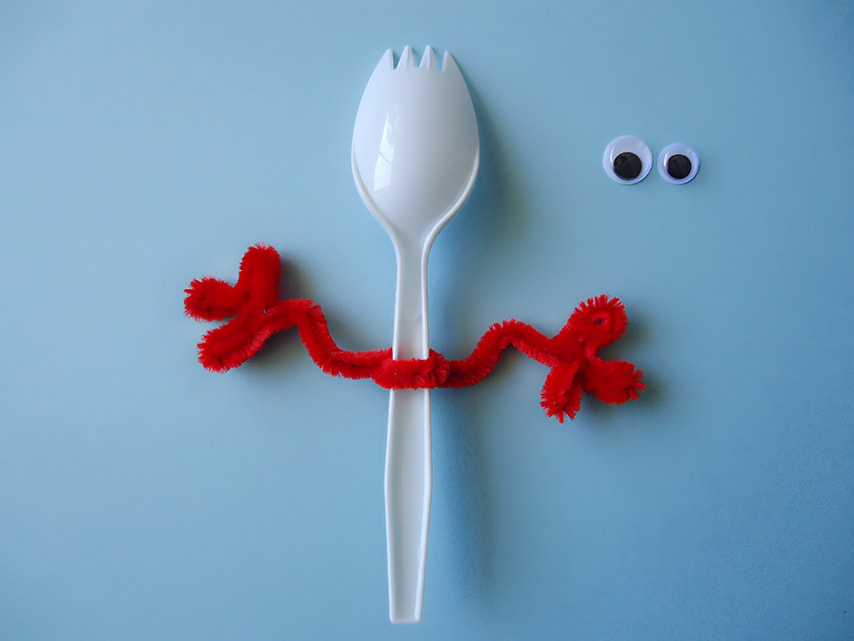
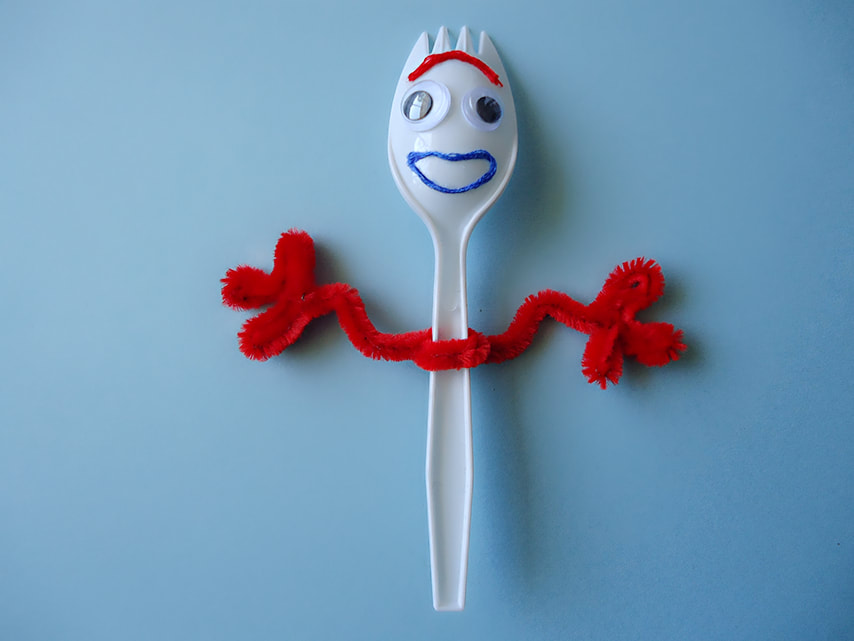
4. Now take your googly eyes and choose two different sizes. Place and glue the googly eyes on the spork.
5. Take your red string and cut a small piece for his brow. Take the blue string and do the same thing to form his mouth.
6. Now you glue his brow and mouth.
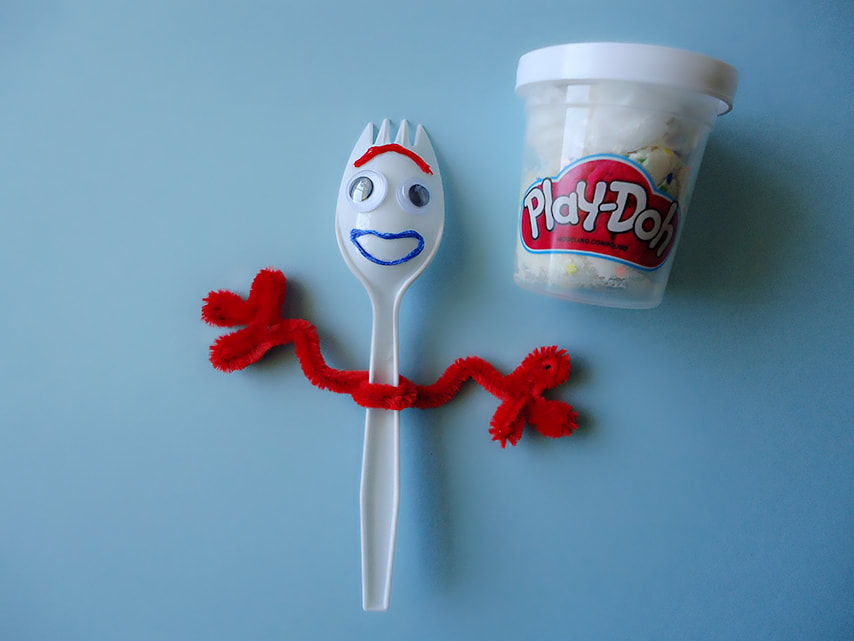
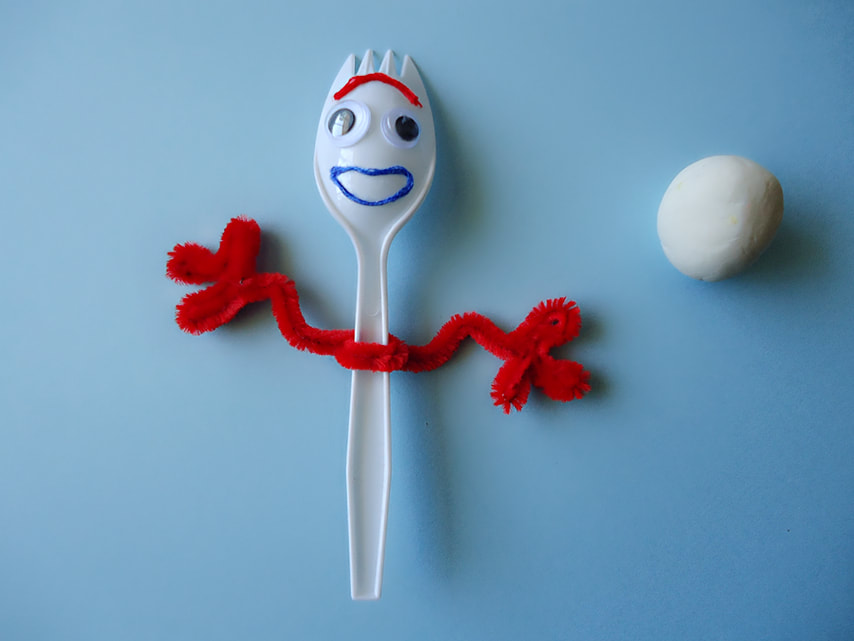
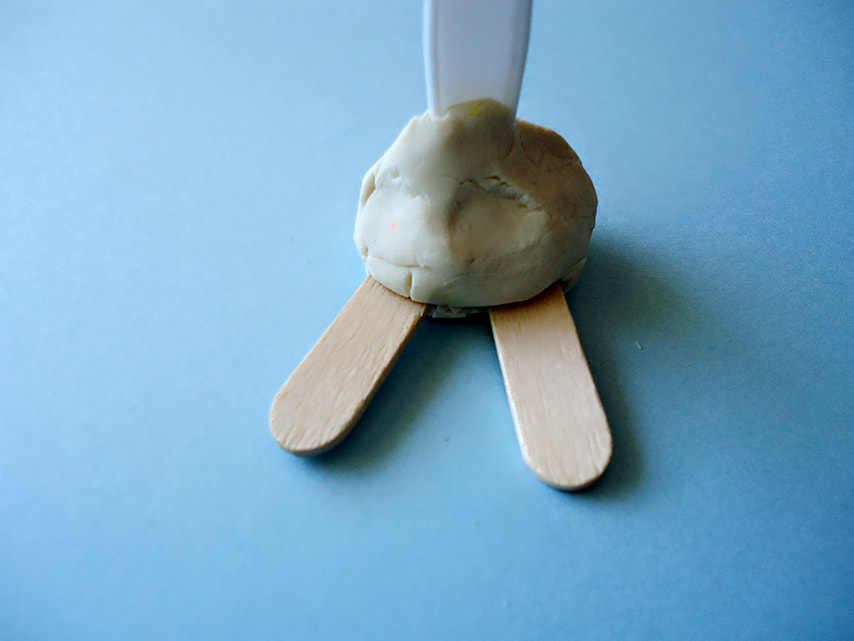
7. Take your white play-doh or clay to make the base.
8. I took a small ball of play-doh and formed a base so forky can stand.
9. Grab your popsicle stick and cut two small pieces to make his feet. I had an extra popsicle stick in case I messed up.
10. Now you stick his feet you just made into the play-doh.
11. You can glue his feet in the play-doh so they won't fall out.
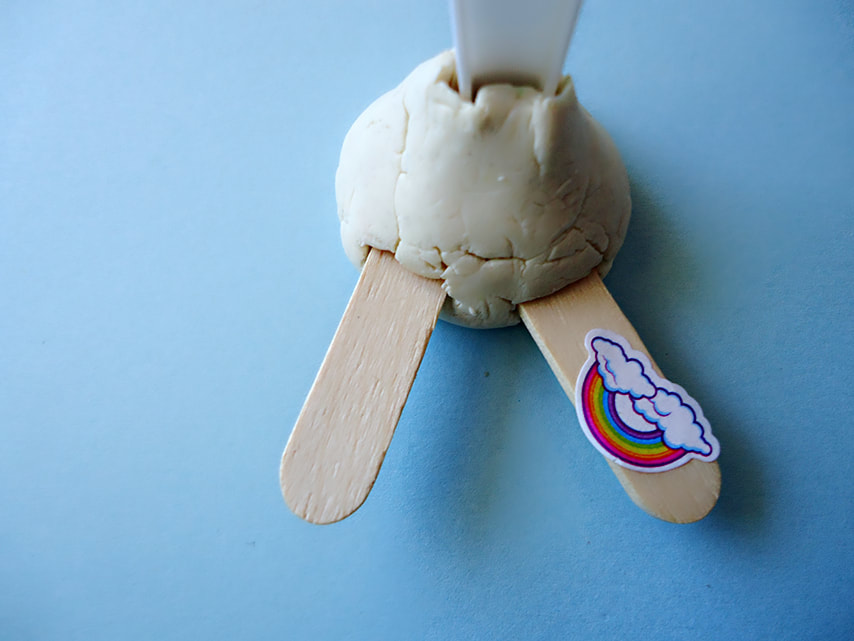
12. The last step is to personalize your forky with stickers. You can write your name at the bottom of his feet like Bonnie and your done!
Product Websites:
https://www.walmart.com/c/kp/sporks
https://www.dollartree.com/crafters-square-plastic-googly-eyes-125ct-packs/177528
https://www.dollartree.com/bulk/Pipe-Cleaners
https://www.dollartree.com/bulk/Popsicle-Sticks
https://www.target.com/b/play-doh/-/N-5p6kd
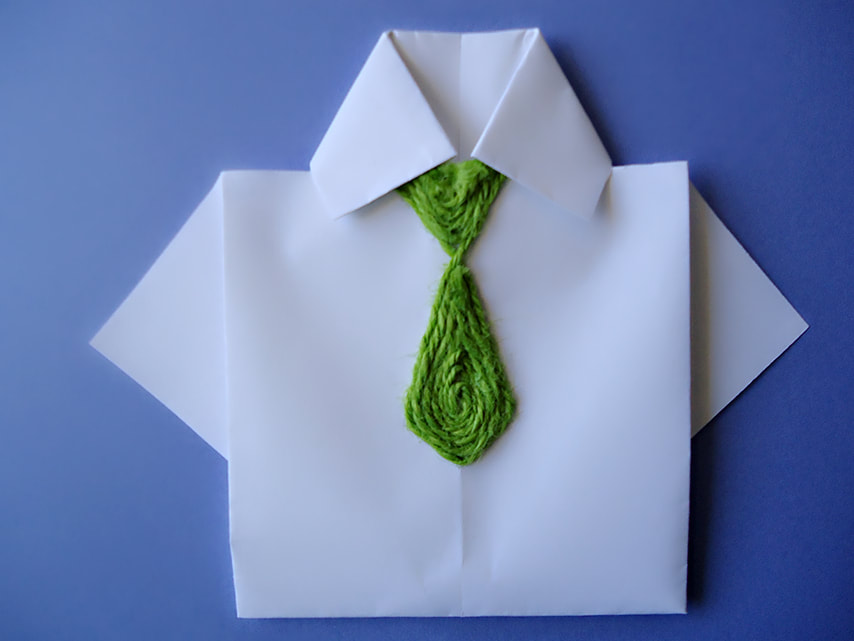
Since Father´s Day is coming up, I wanted to share this DIY origami Father´s Day card. This card is easy to make, it's a great last minute card. You can make this card in 5 minutes but, it looks like you took an hour to make. Children and adults can both make this card and can easily personalize it. I was inspired by a youtube video that I will link down below. I decided to place my personal touch and used jute cord to make a tie.
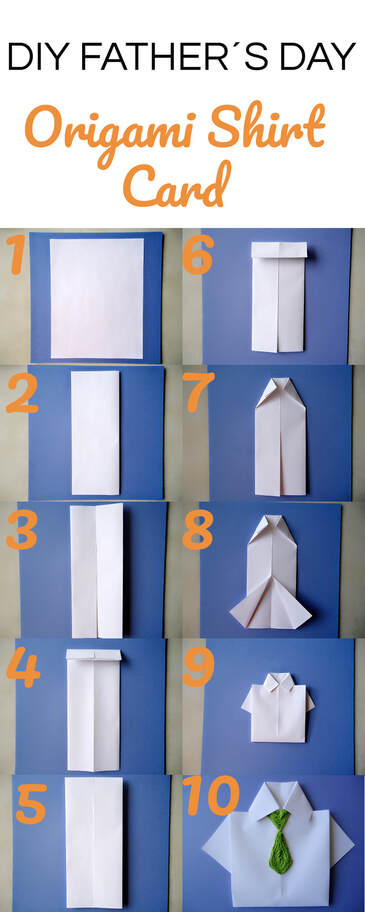
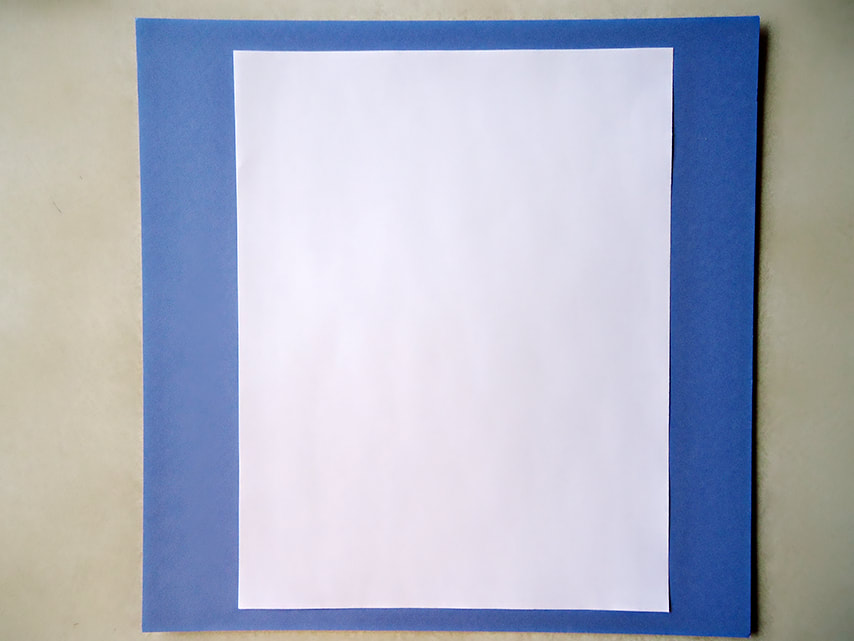
1. You will first need a white or colored sheet of paper.
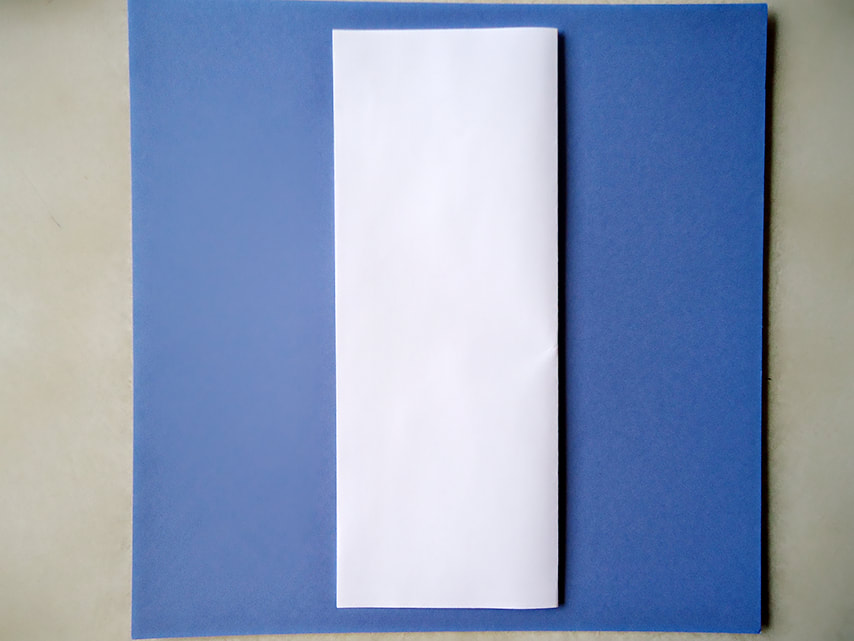
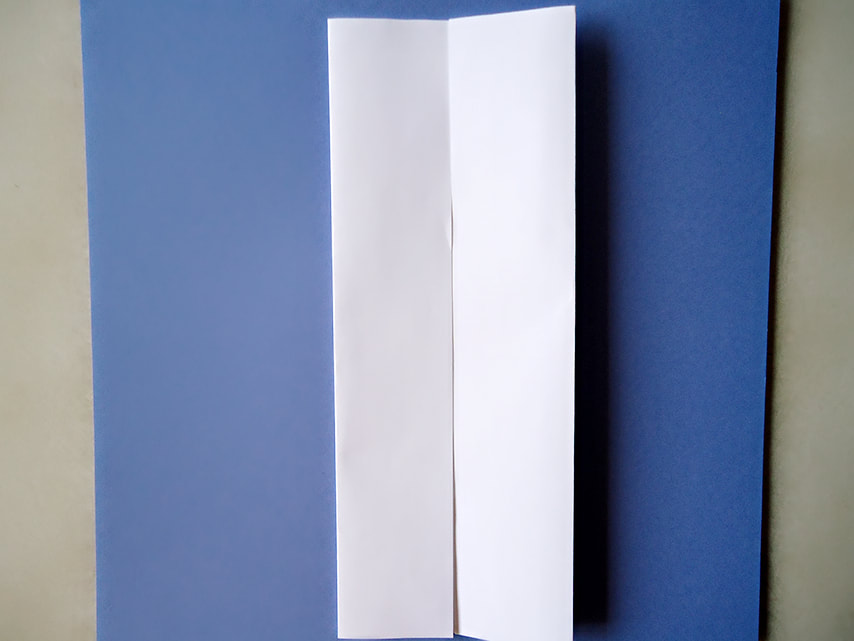
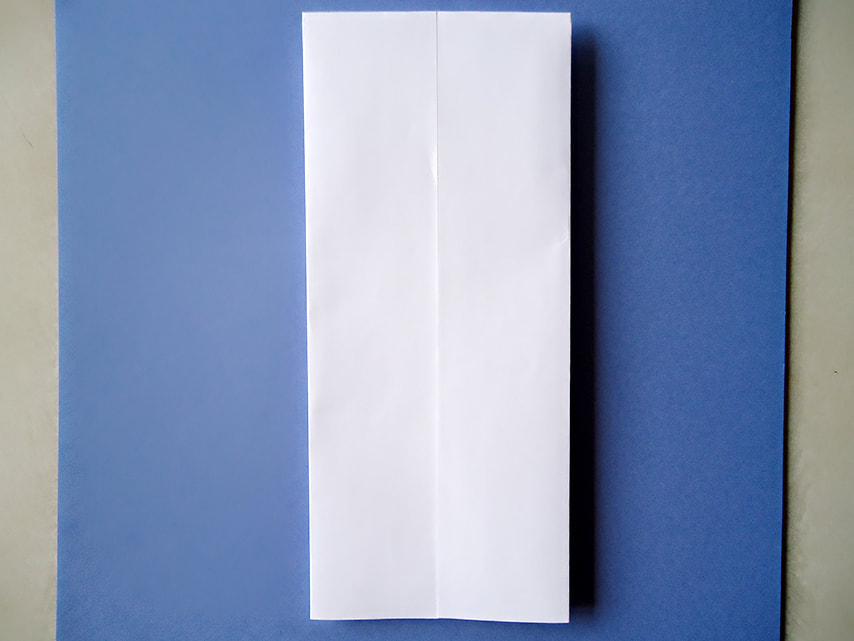
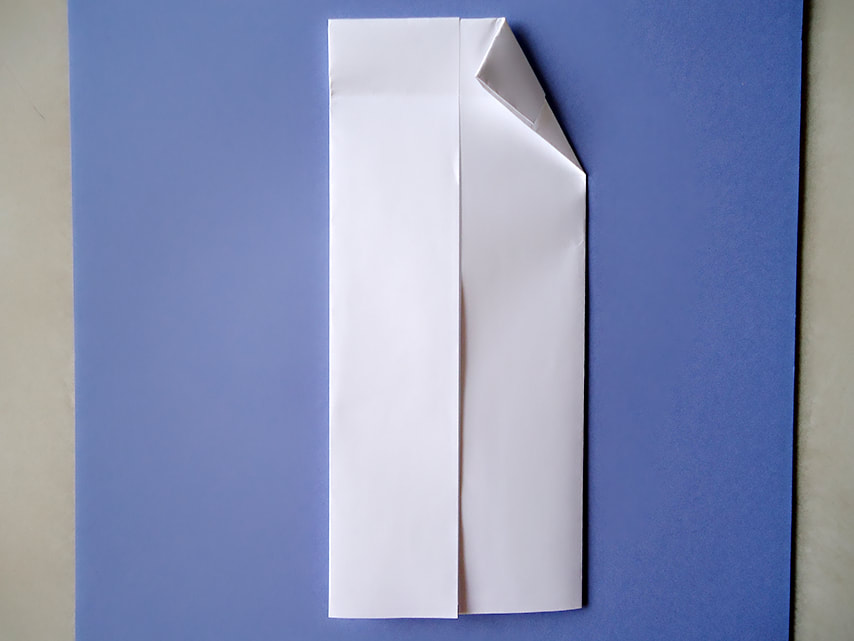
2. Next, fold your piece of paper in half hotdog style.
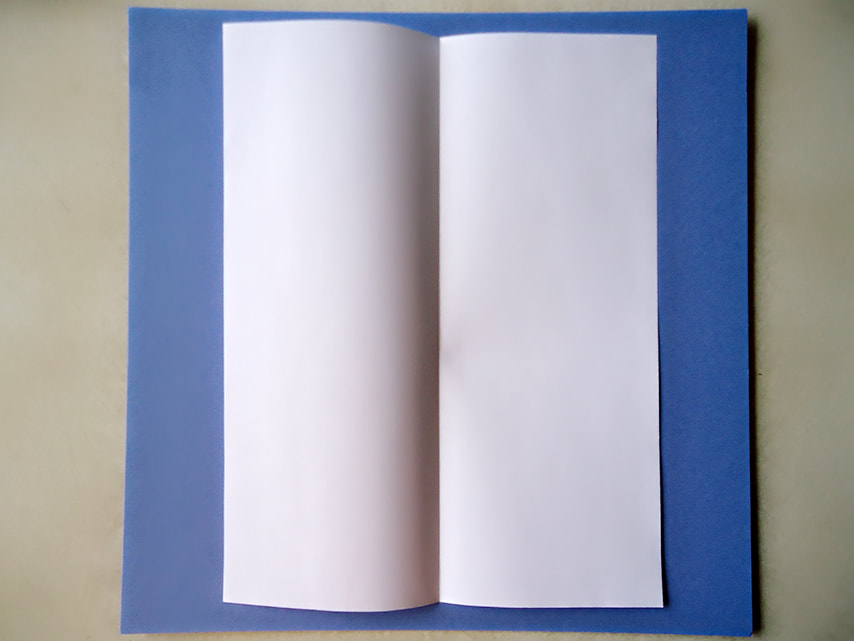
3. Open up your sheet of paper and fold both sides hotdog style again.
4. The sides will face inward towards each other when you are done.
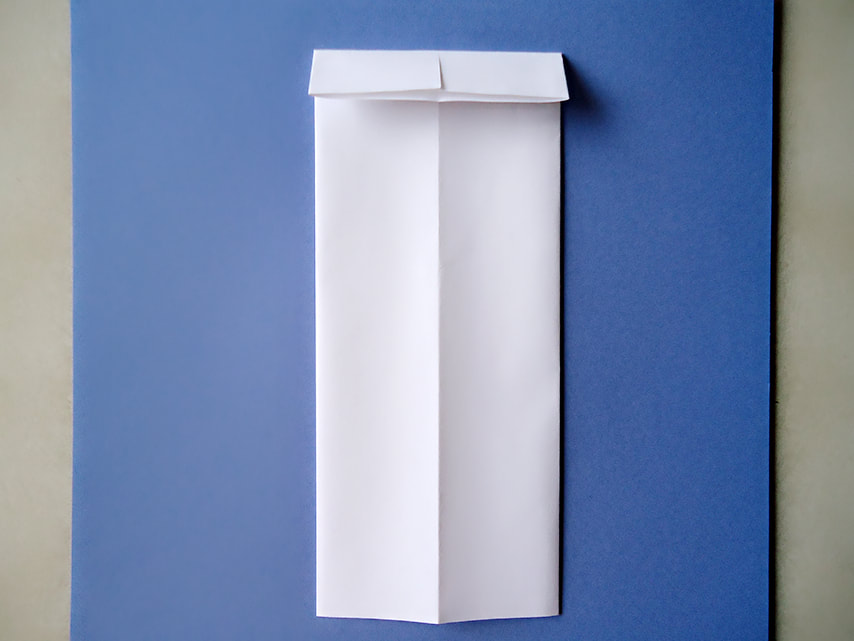
5. Flip your paper to the other side and measure about an inch at the top. Fold the top part of the paper towards yourself.
6. Now you are going to flip your paper once again
7. You are going to repeat step 5.
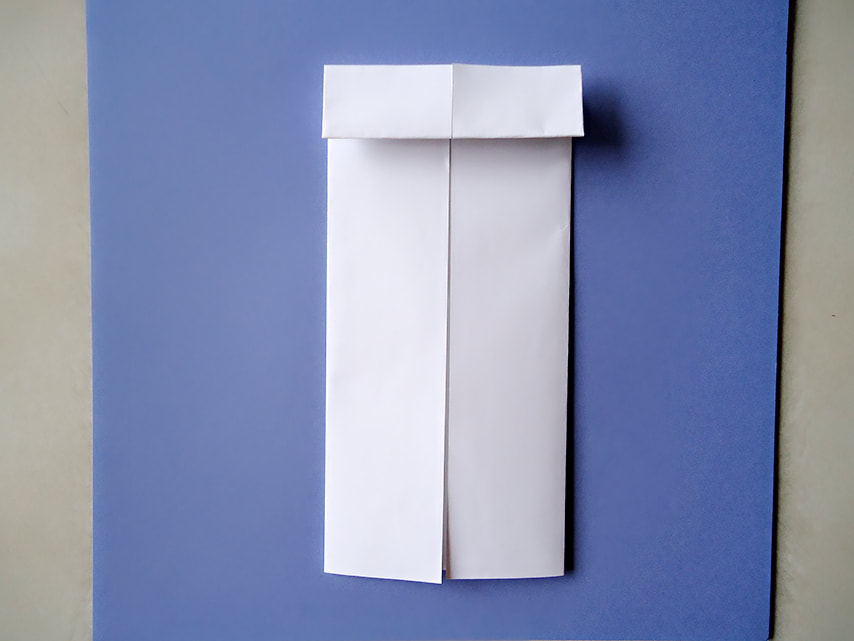
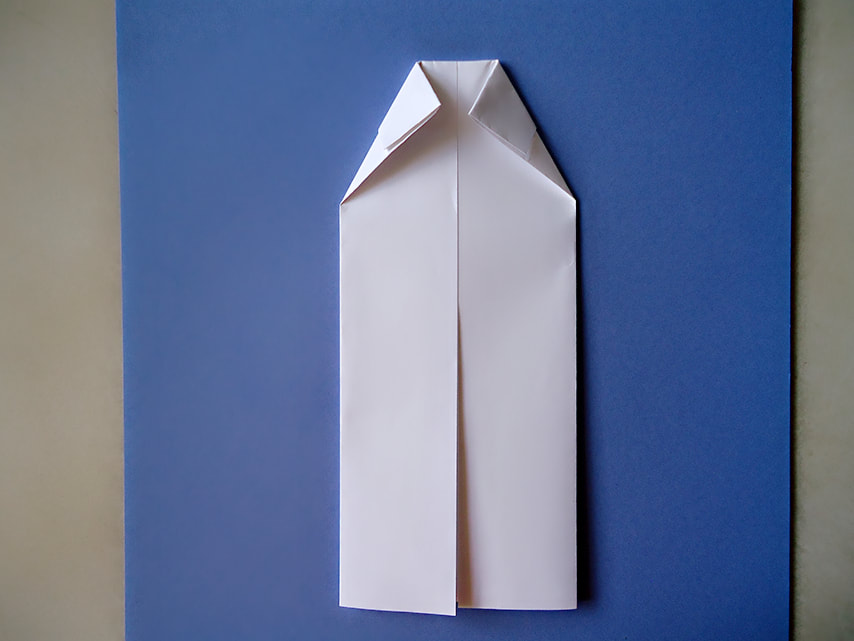
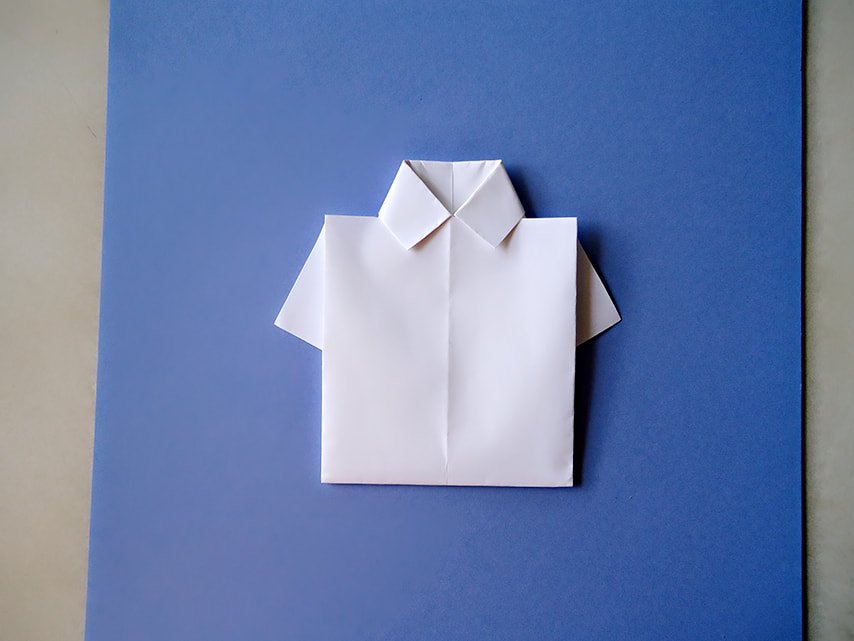
8. You are now going to open the flap you just folded and take the corner, fold it inwards on both sides. Use the line made by the fold as a guide to know how far to fold.
9. Know that you have the collar of the shirt done it's time to make the sleeves.
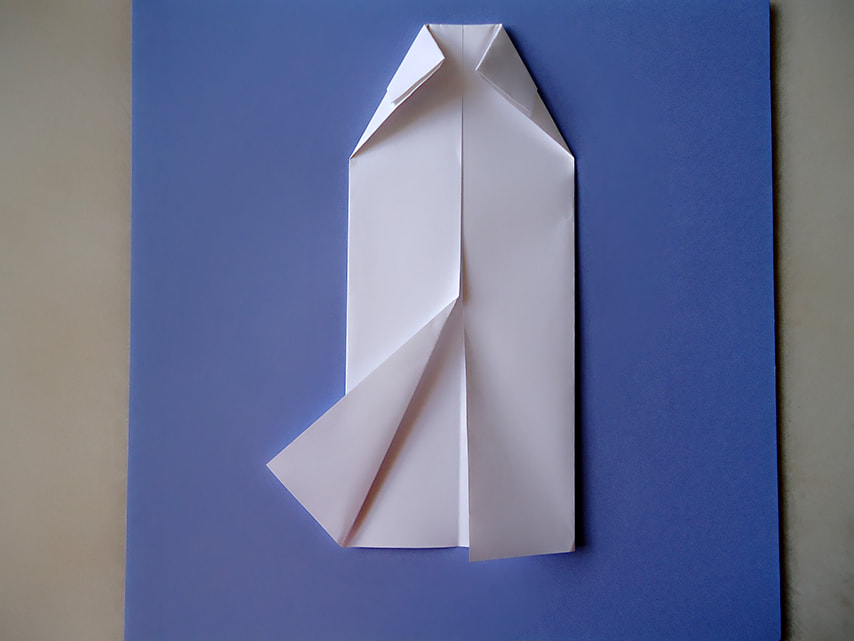
10. Take the bottom flaps and fold them outwards. Fold both flaps the same size, making a triangle in the middle.
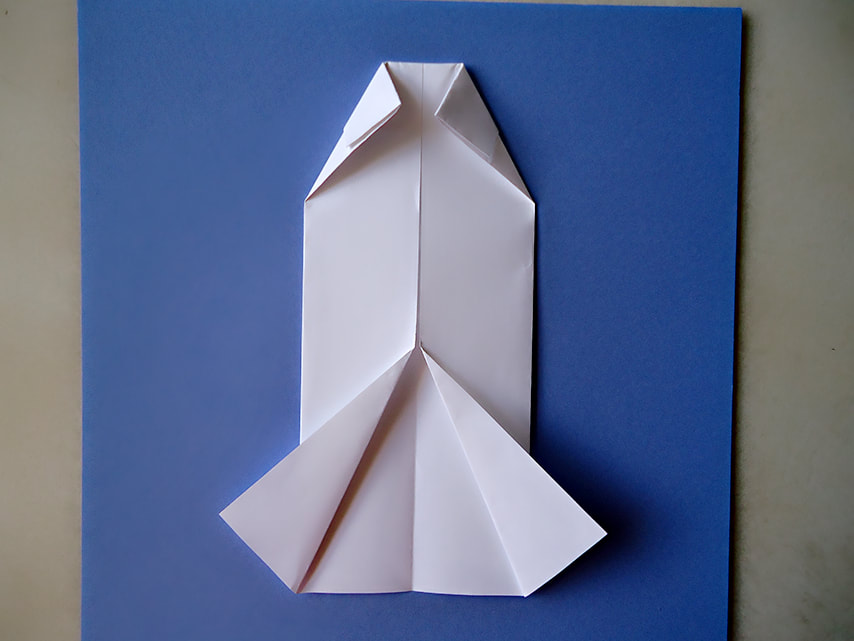
11. Take the bottom section and fold upward, under the collar. Now you hold and make a nice fold at the bottom to make the shirt.
12. Now you are done folding and making the shirt.
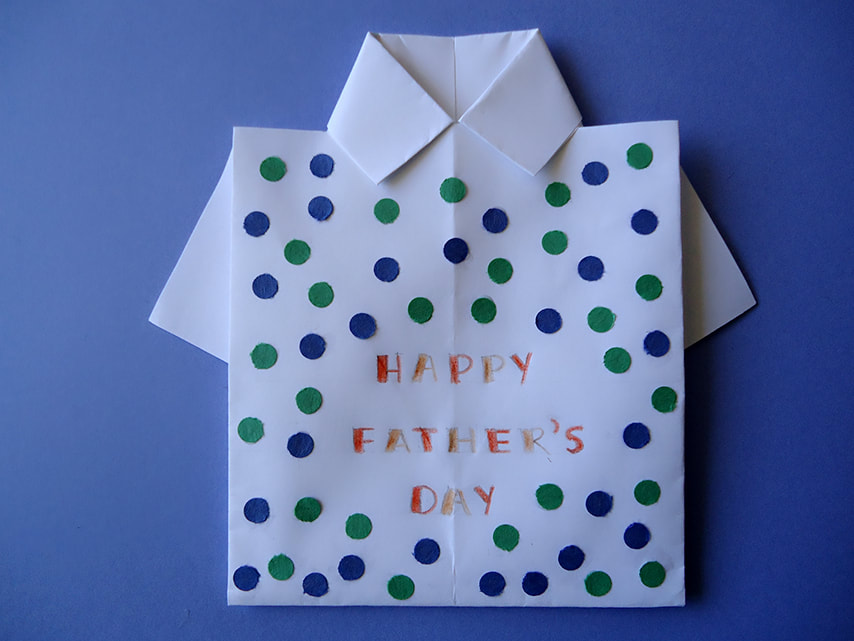
13. It's time for the fun part, now you can personalize it. You can add buttons, draw a tie, or other designs.
Youtube Video: How to fold an origami shirt-Art For Kids Hub:
https://www.youtube.com/watch?v=ONEbYSfnyG8&t=294s
|


 RSS Feed
