
|
7/25/2019 1 Comment DIY: CHEVRON BRACELETS
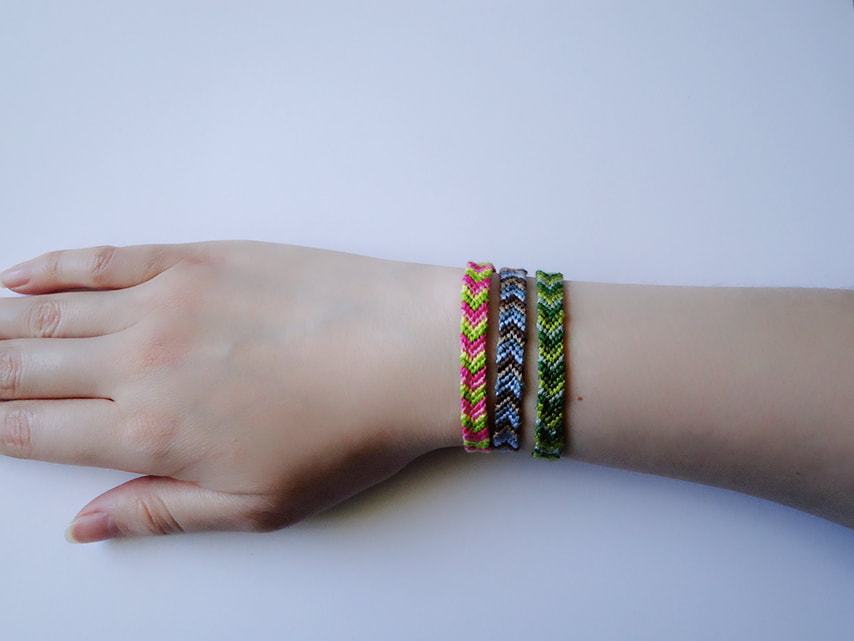
After trying to come up with an easy summer craft, I stumbled on DIY friendship bracelets. I wanted to learn how to make a DIY Chevron bracelet because of the arrow design. I messed up about two or three bracelets until I got it right. After watching videos and reading blogs, I finally learned what I was doing wrong. I will link the videos and blogs that I used while learning how to make a chevron bracelet. I decided to write my blog post about DIY Chevron bracelets so others can learn from my mistakes. These bracelets are beautiful and are a great homemade gift.
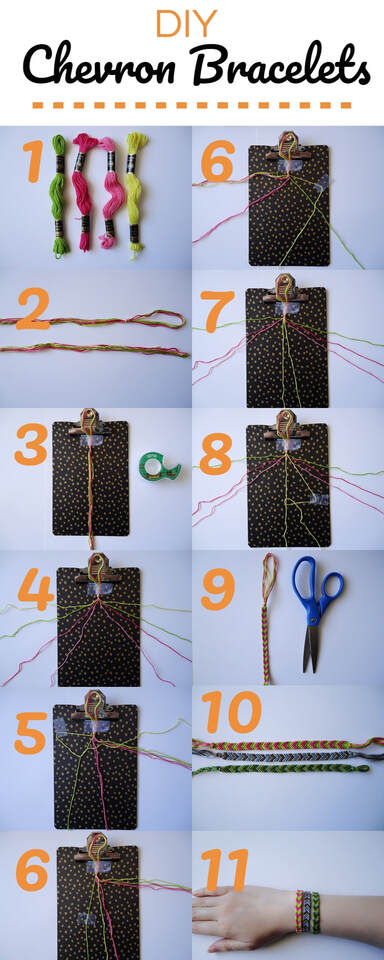
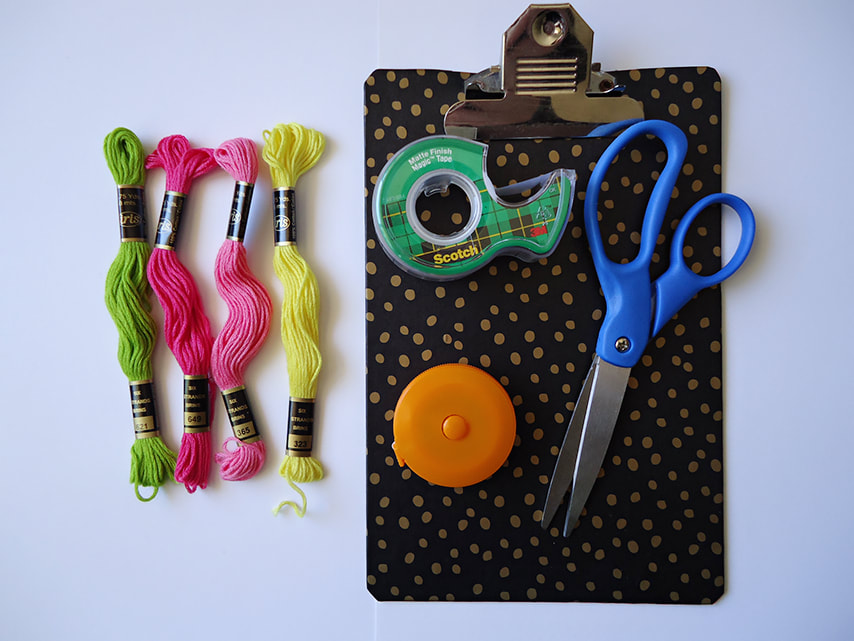
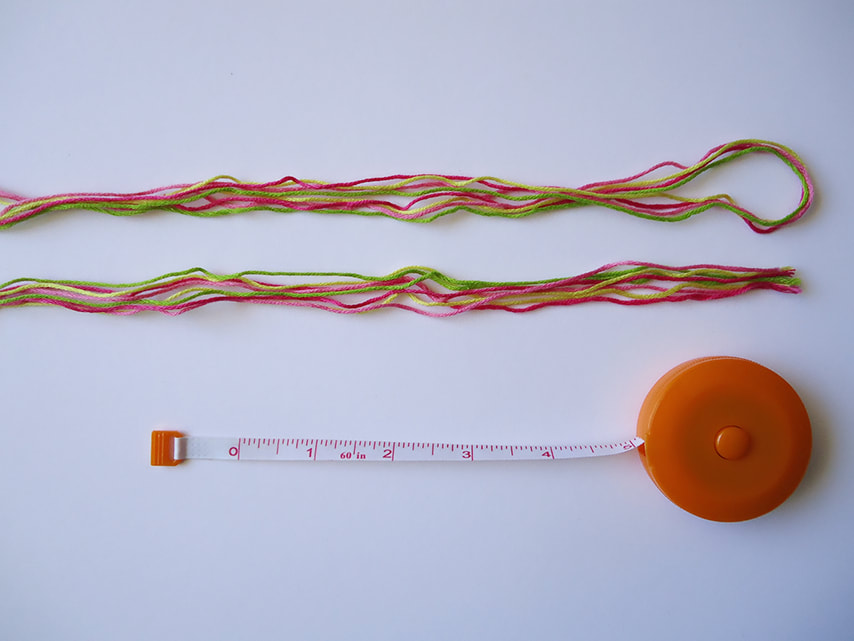
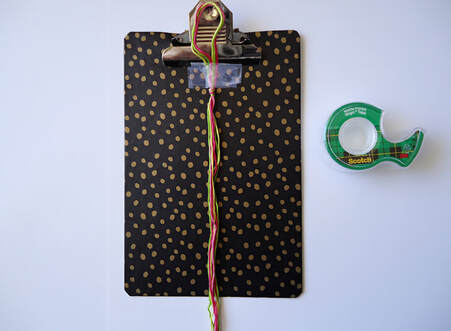
1. First, take your four different colors of embroidery floss and cut four strands.
2. Cut your four pieces 65 inches long by using a ruler or measuring tape.
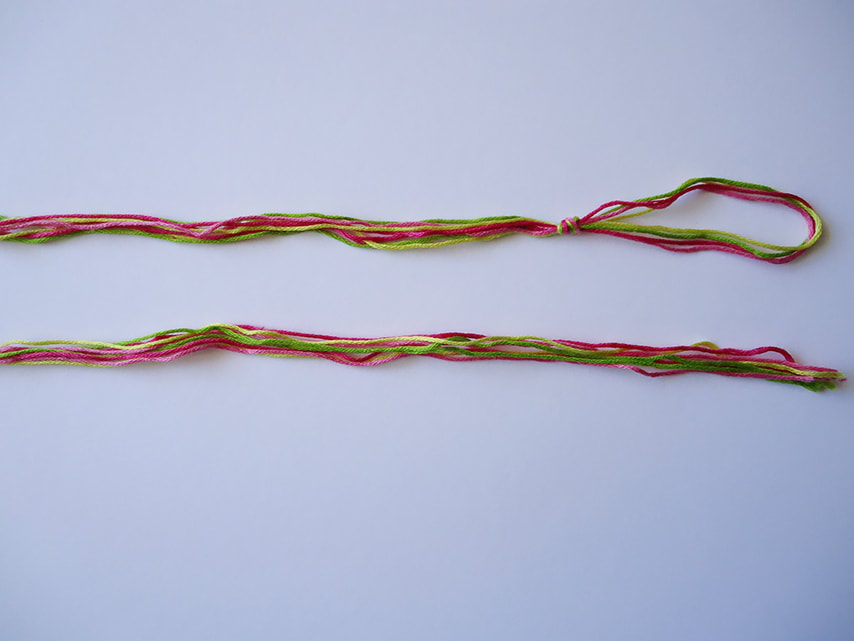
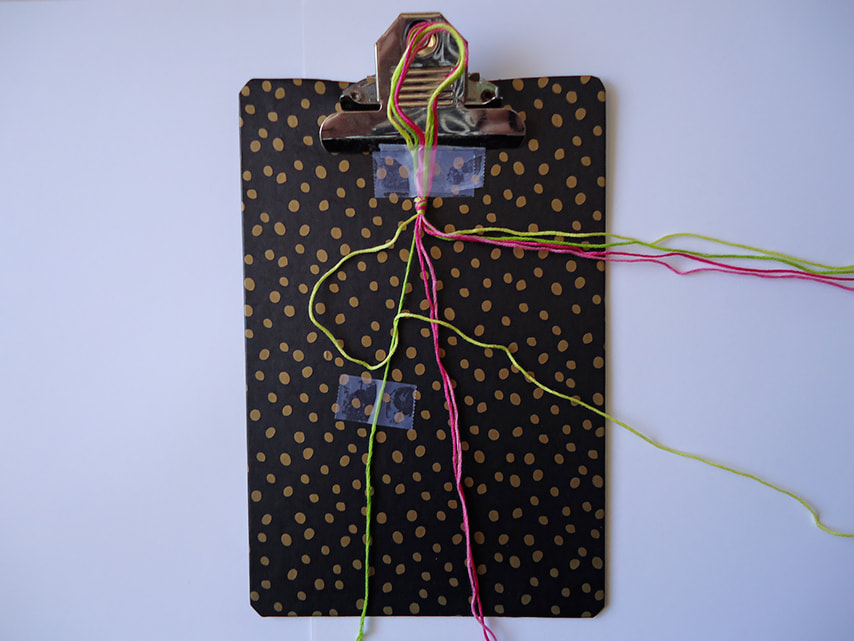
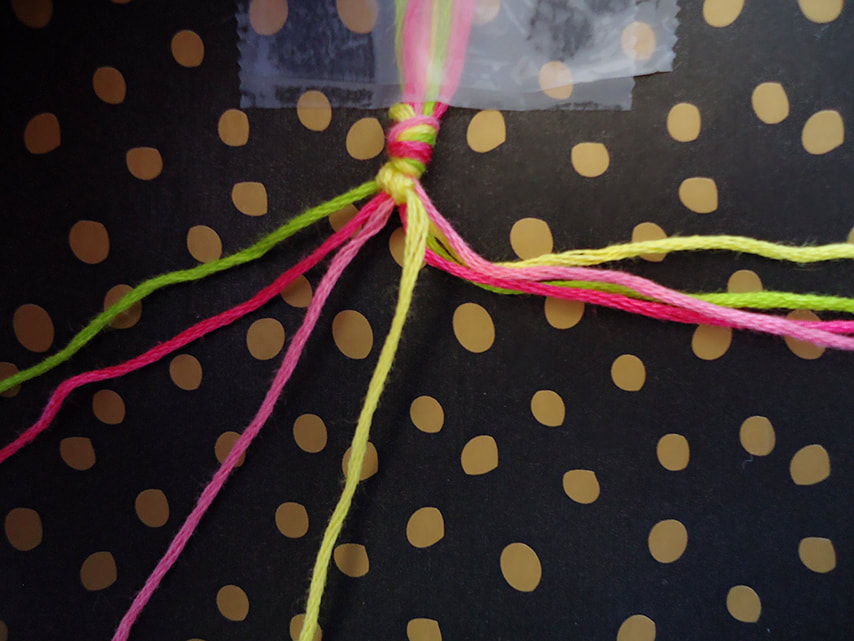
3. Place your four strands all together and fold them in half. Now make a large knot at the top, make a large loop, leave about three inches at the top to tie your bracelet at the end.
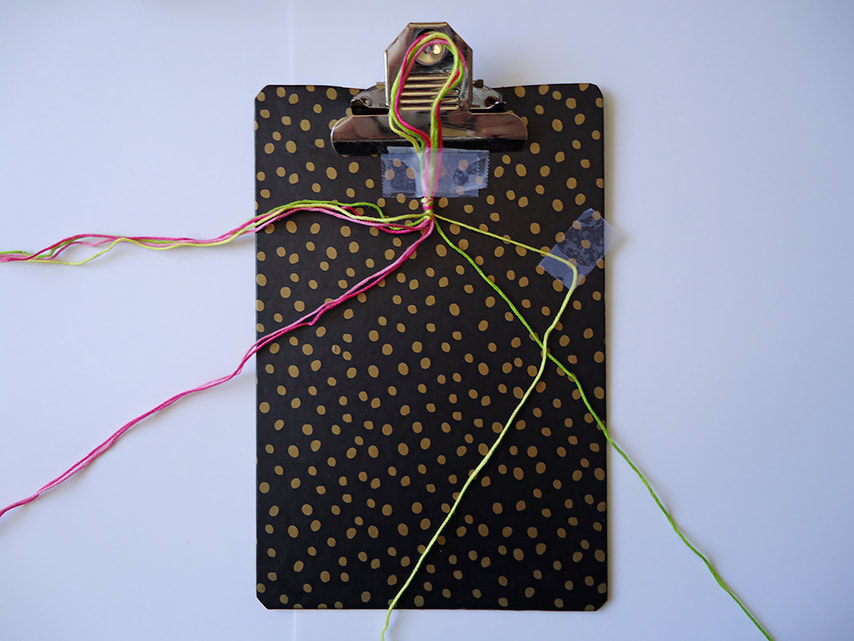
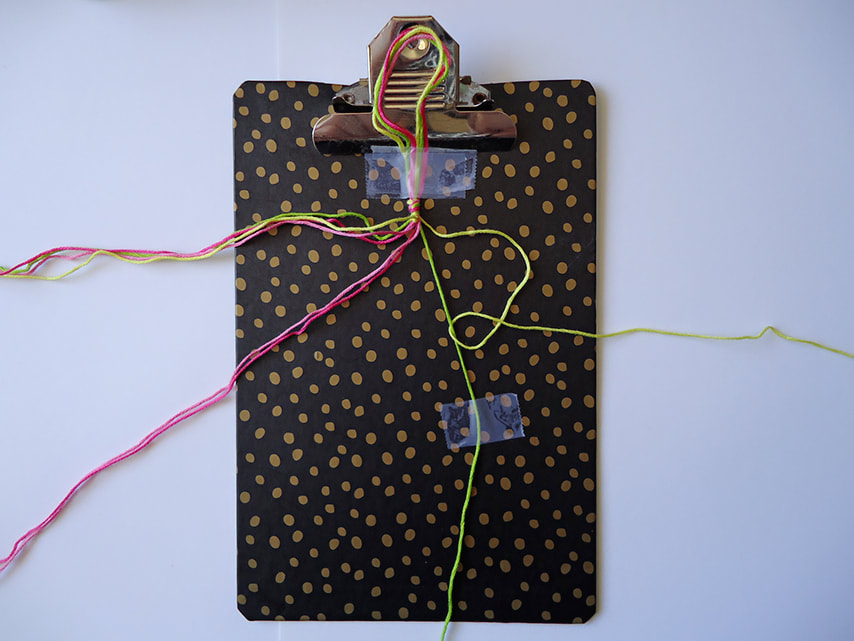
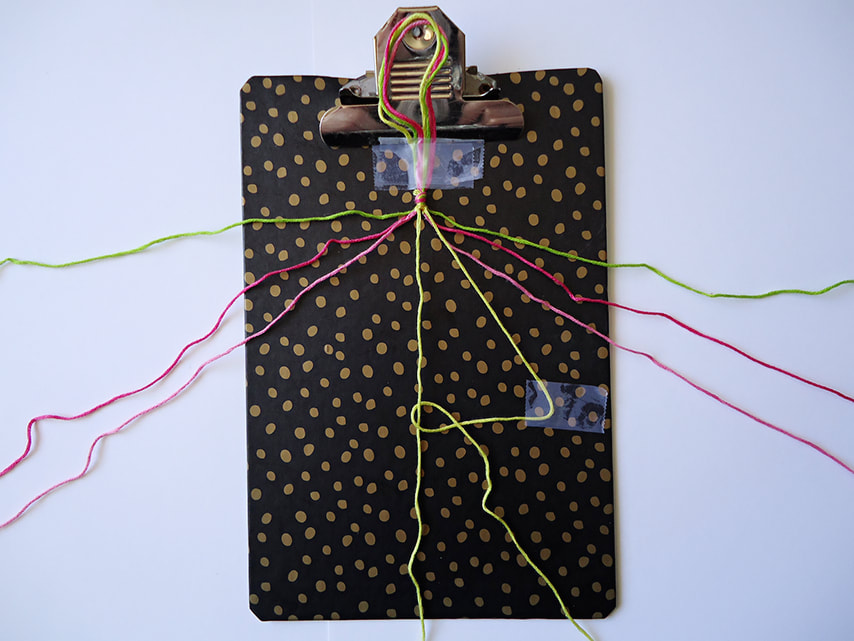
4. Take your clipboard or any hard surface and tape your pieces of string so they won't move.
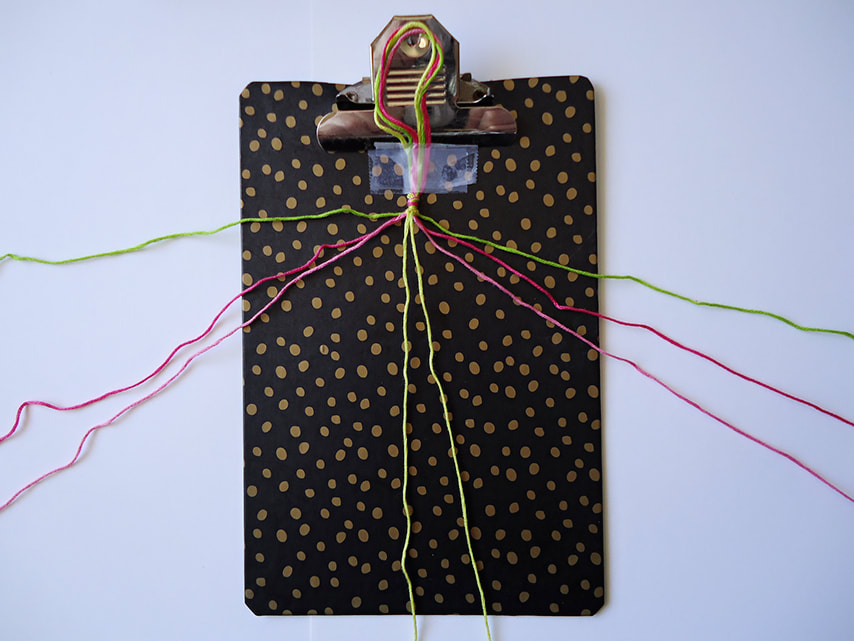
5. Divide your strings in half, four on each side. They have to be a mirror image of each other.
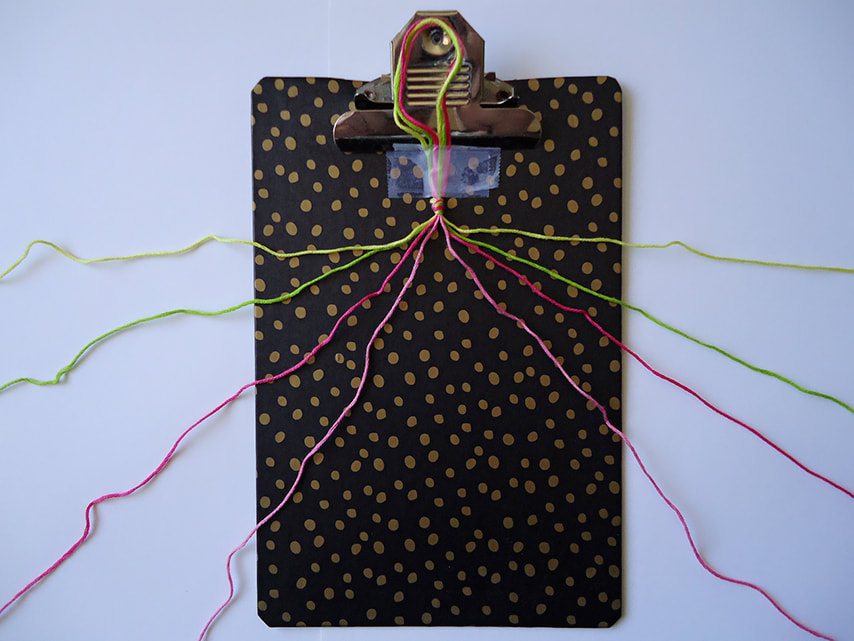
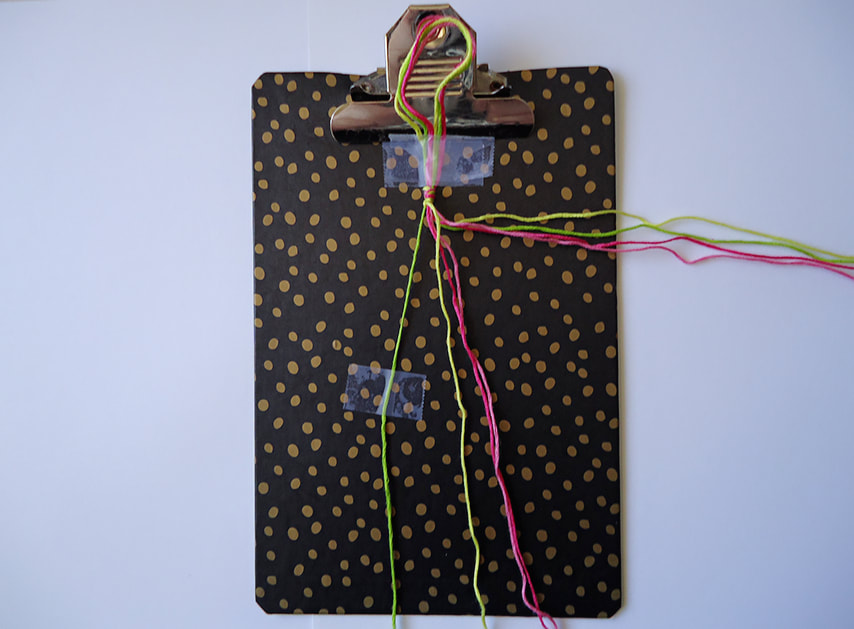
6. Now it’s time to start knotting, you are going to make forward knots with all the strings on your left side. Take your outermost string and make the number four. In my case, it would be the yellow string and the green string. Place the yellow string over the green string to make the number four.
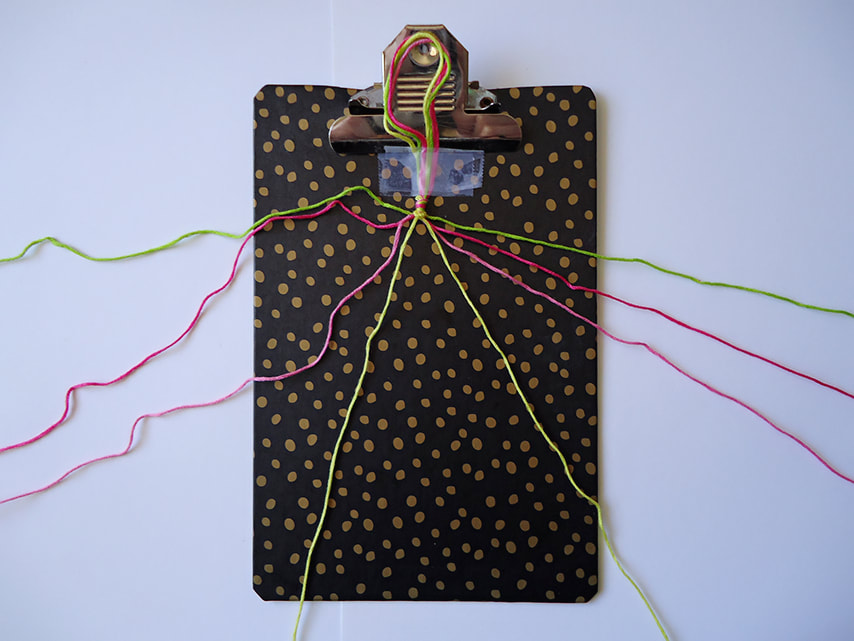
7. Take your outermost string and pass it under your second string.
8. If you placed tape to help you, now is the time to take it off your outermost string. I would recommend you tape the second string to avoid many mistakes. Trust me on this one I had to restart so many times because I didn't hold the second string down.
9. Now take your outermost string and pull up to make your first forward knot. Always remember to do this twice for each string. The mistake I made was pulling both of the strings to make the knot.
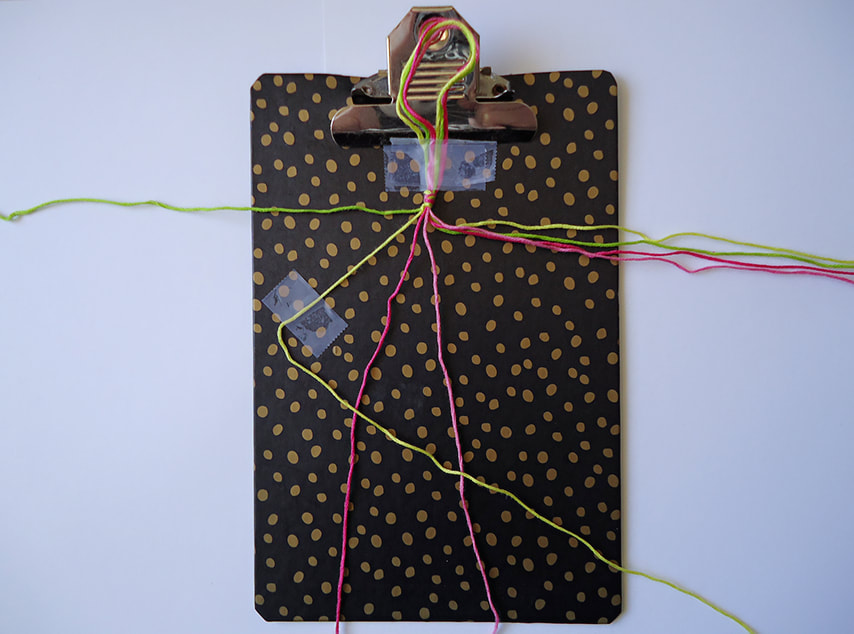
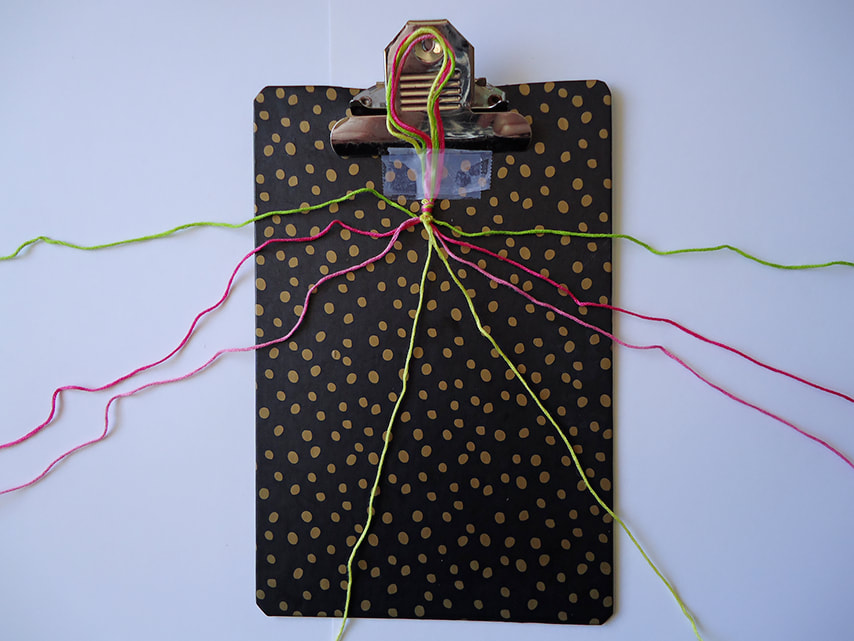
10. You can now move your green string to the side and now your second string is going to be the next color in line. In my case, it would be the dark pink string. Repeat the same steps to make a forward knot. In my case, it would be yellow string over and under the dark pink string. Remember hold the dark pink string and pull the yellow to make the knot.
11. Repeat the same steps until your outermost string is now at the end of the row.
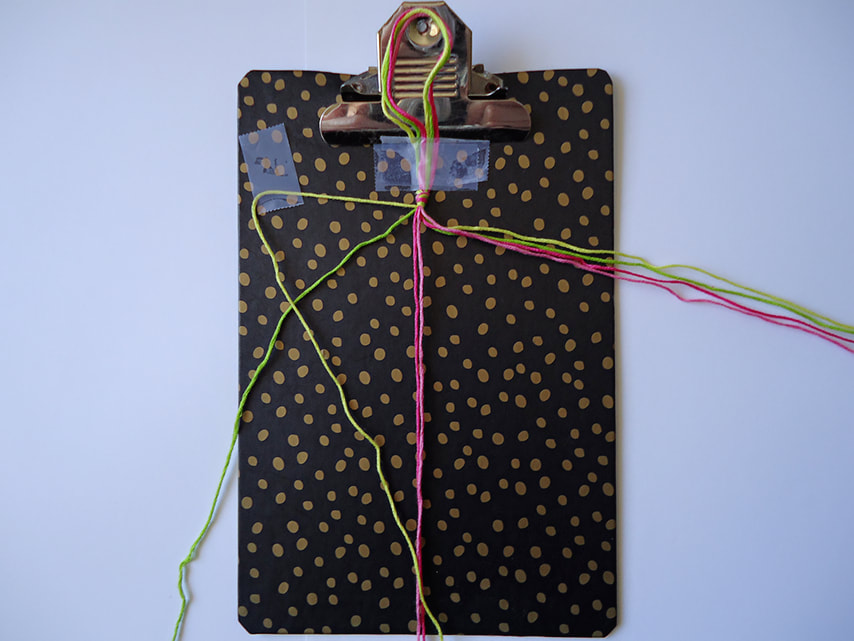
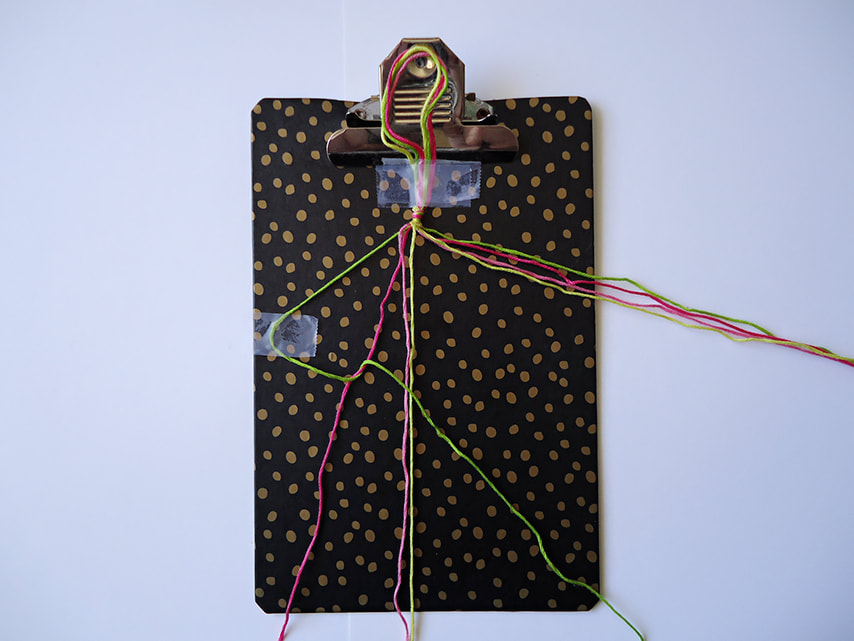
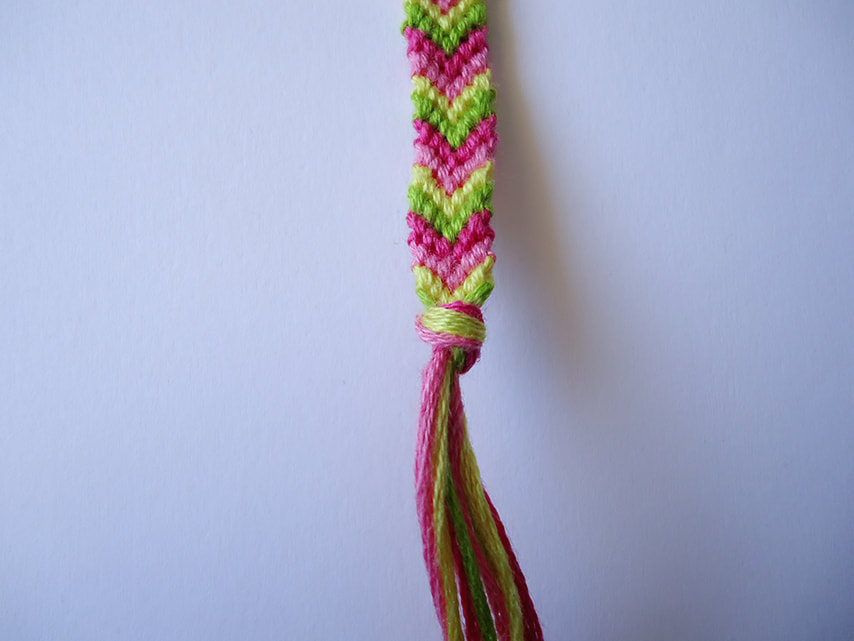
12. Now you will see the row forming at the top of your bracelet.
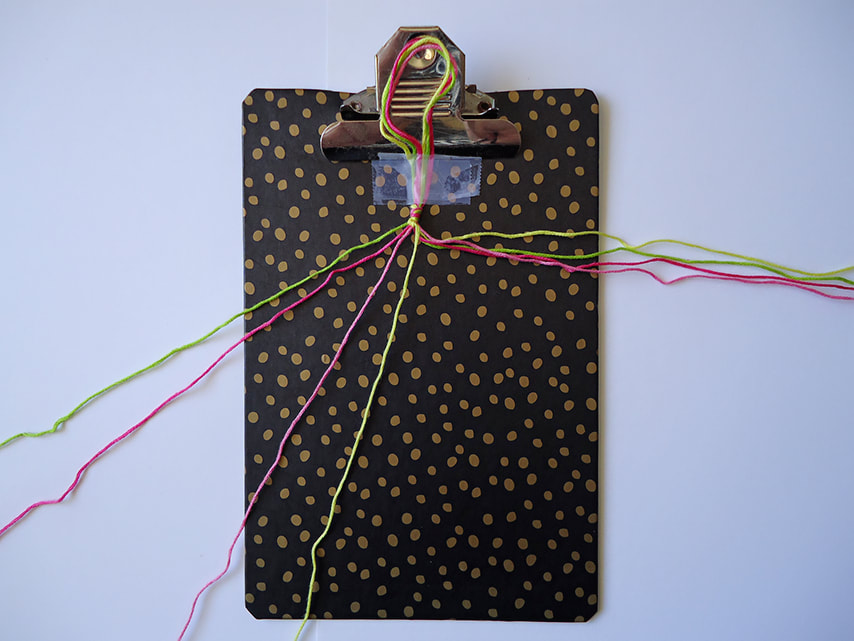
13. Now it’s time to learn how to make backward knots. It's almost the same as a forward knot. The only difference is that you have to make a backwards four.
14. Then you do the same steps, over and under, hold the second string and pull the other. Always remember to do this twice for each string.
15. After you have completed all you backward knots, you will have both of your outermost strings at the bottom.
16. Take your string on the right and make a backwards knot. Do this twice while holding the left string down.
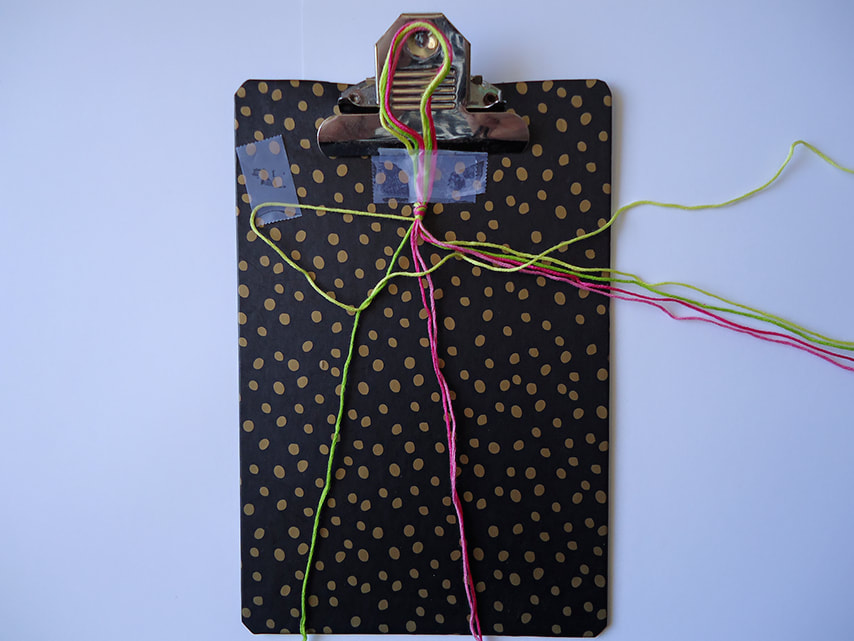
17. After you have done this twice, you will need to switch strings.
18. Now the left string will be on the right, the right will be on the left.
19. Now you will start making the second row, just keep repeating the steps over and over again.
20. Repeat the steps until you end up with your desired length.
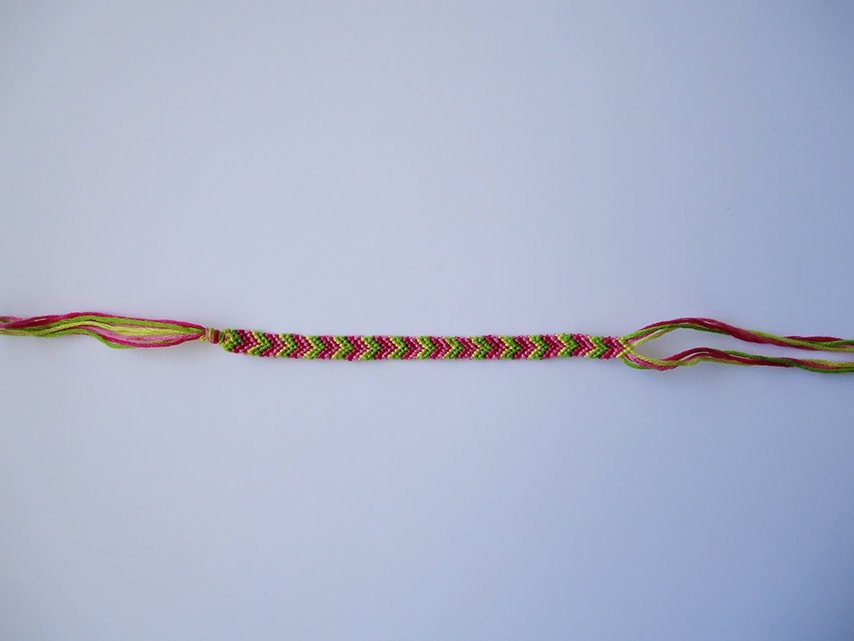
21. Once you finished, now you will make a knot at the end.
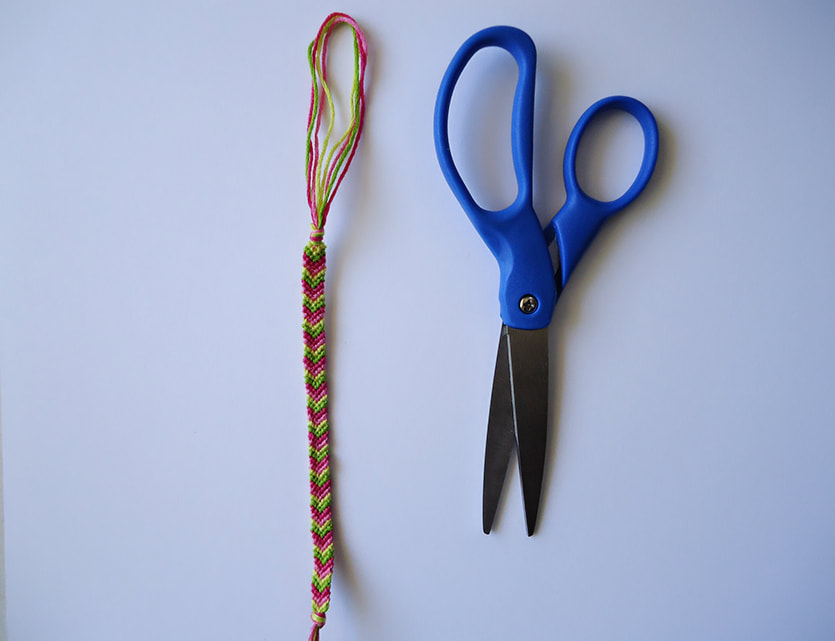
22. Grab your scissors and cut the loop that we made at the top when starting the bracelet.
23. Now You're Done !!
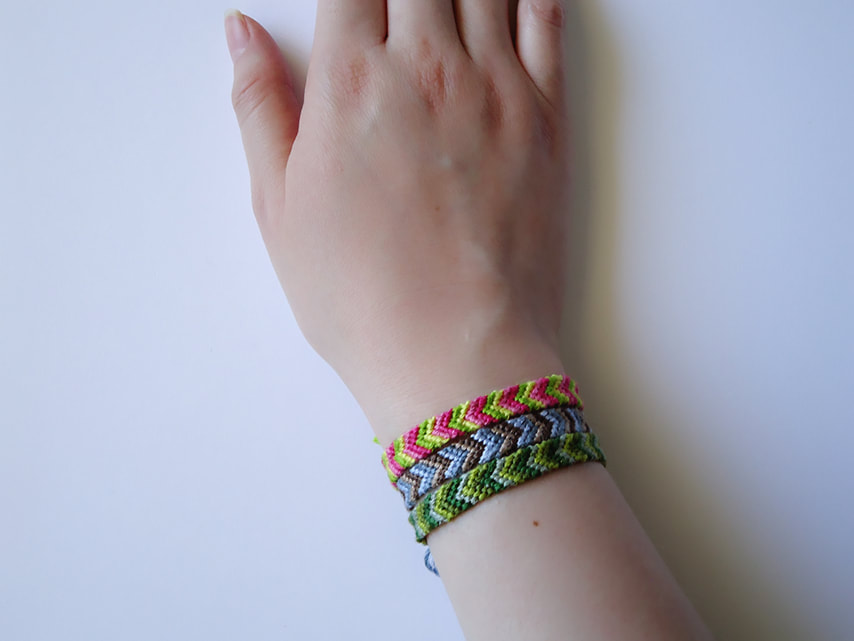
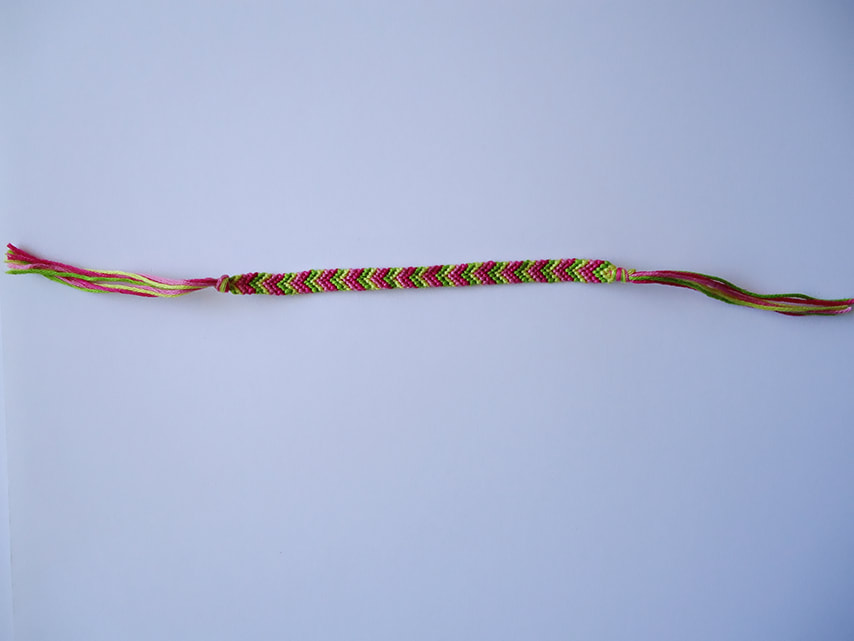
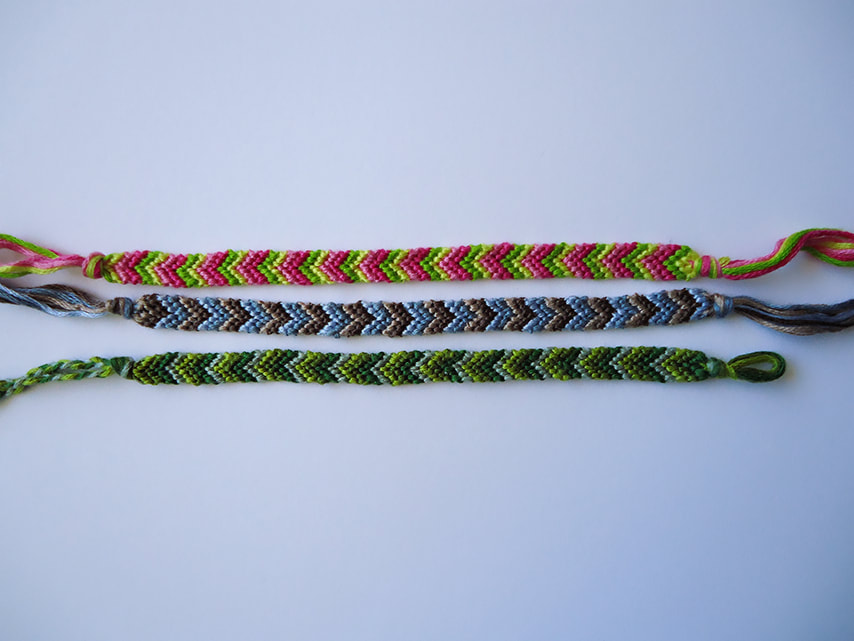
You have beautiful bracelets to wear or to give as a gift.
These are just more pictures so you can see other colors and bracelet designs.
Websites:
https://www.youtube.com/watch?v=nNOioNDsg2s&t=20s
https://www.youtube.com/watch?v=clI5fBPamOs
1 Comment
7/22/2021 04:19:21 am
Cool DIY! Love this beautiful DIY. I can't wait to try this bracelet. Thanks for sharing. Leave a Reply. |

 RSS Feed
